Add Tags to a Dispatch

This opens the dispatch details page.

Select the edit icon to the right of the dispatch status to open the Edit Dispatch Modal.
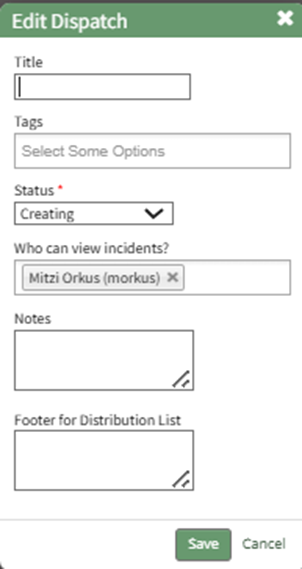
Select the appropriate tag from the dropdown menu, or type in the new tag title and press enter.
How To: Create a New Tag from an Entity in Another Module
To create a new tag while creating or editing a new entity in a module other than tags, type in the desired new tag name in the tag field for the entity. For aid in visibility, emojis can be used in the tag name.
How To Determine if a New Tag Can be Created when an Entity is Created / Edited | |
Some modules allow for a new tag to be created when an entity is being created or edited. You can identify if this feature is enabled for an entity by typing in the desired tag name. If this feature is enabled, you will see a line under the Tags Field that states, “Press Enter to add new tag.” If this feature is not enabled, you will see a line under the Tags Field that states, “No options”. | |
Possible |
|
Not Possible |
|


Press “Enter” after typing in the new tag name.

Finish creating / editing the entity as desired. After saving your changes to the entity, the Tag will be created. By default, the new Tag will have Open behavior, and be assigned the “uncategorized” category. To make changes to these settings, go to the Manage Page of the Tags Module.

The newly created tag will be available on the Tags List on the Tags Tab.
Click the vertical dot icon on the far right opening the tag context menu. Select “Edit” opening the Edit Tag Modal.

Alter the Tag Title, Category and Behavior as desired.
How To: Edit a Tag
To edit a tag, go to the Manage Page in Tags Module. Select the Tags Tab.

Click the vertical three dot menu to the far right of the tag you wish to edit.
Select “Edit” from the context menu opening the Edit Tag Modal.

Alter the title, category, and behavior as desired. If the tag is permissive or restrictive, you can alter who it is visible to.
Select the “Update Tag” button to save the changes.

A confirmation modal appears at the bottom of the Manage Page, indicating the tag was successfully updated.
Select the “Update Tag” button and your changes will be saved.
Select "Save".
No comments to display
No comments to display