Add an Inventory Location
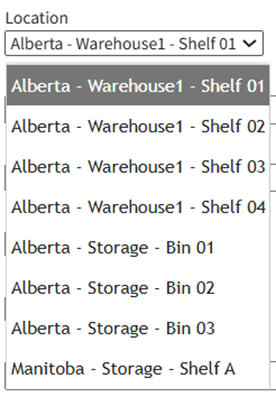
Adding an inventory location creates an additional location option that can be found on the location dropdown menu in the New Database Entry Modal when “Add Stock Item” has been selected from the Inventory Context Menu.
To add an inventory location, go to the Inventory Module Home Page.
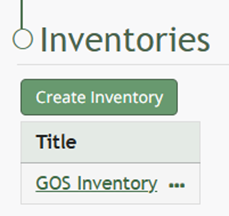
Click on the name of the inventory you want to add a new stock item into

Click the three-dot icon to the right of the inventory name header opening the inventory context menu.
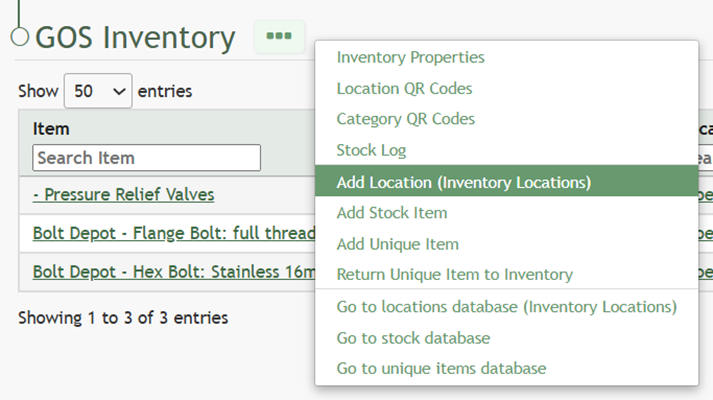
Select “Add Location (Database Name)” opening the New Database Entry Modal.
The Database Name shown in parenthesis will vary, as it is the name of the database used as the Locations Database for inventory set up.
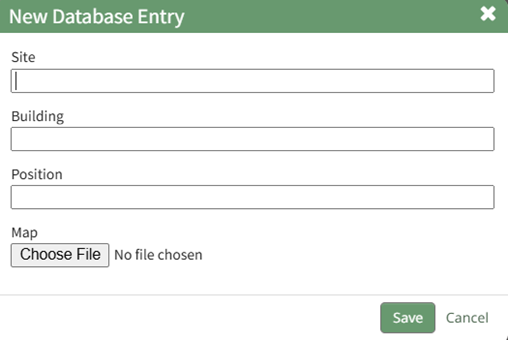
Input the information into the modal for the new location.
The data fields requested by this modal for a new stock item will vary based on the way the inventory was setup.
Select “Save” and the new inventory location will be added to the database identified as the locations database in setup.
No comments to display
No comments to display