Enable the Admittance Desk Page
To enable the Admittance Desk Page for an attendance log, open the attendance log you wish to enable the Admittance Desk feature in by going to the Home Page of the Attendance Module and clicking the three-dot icon to the right of an attendance log’s name, opening the context menu. Select “Attendance Log Properties” from the context menu which will open the Attendance Log Properties Modal.
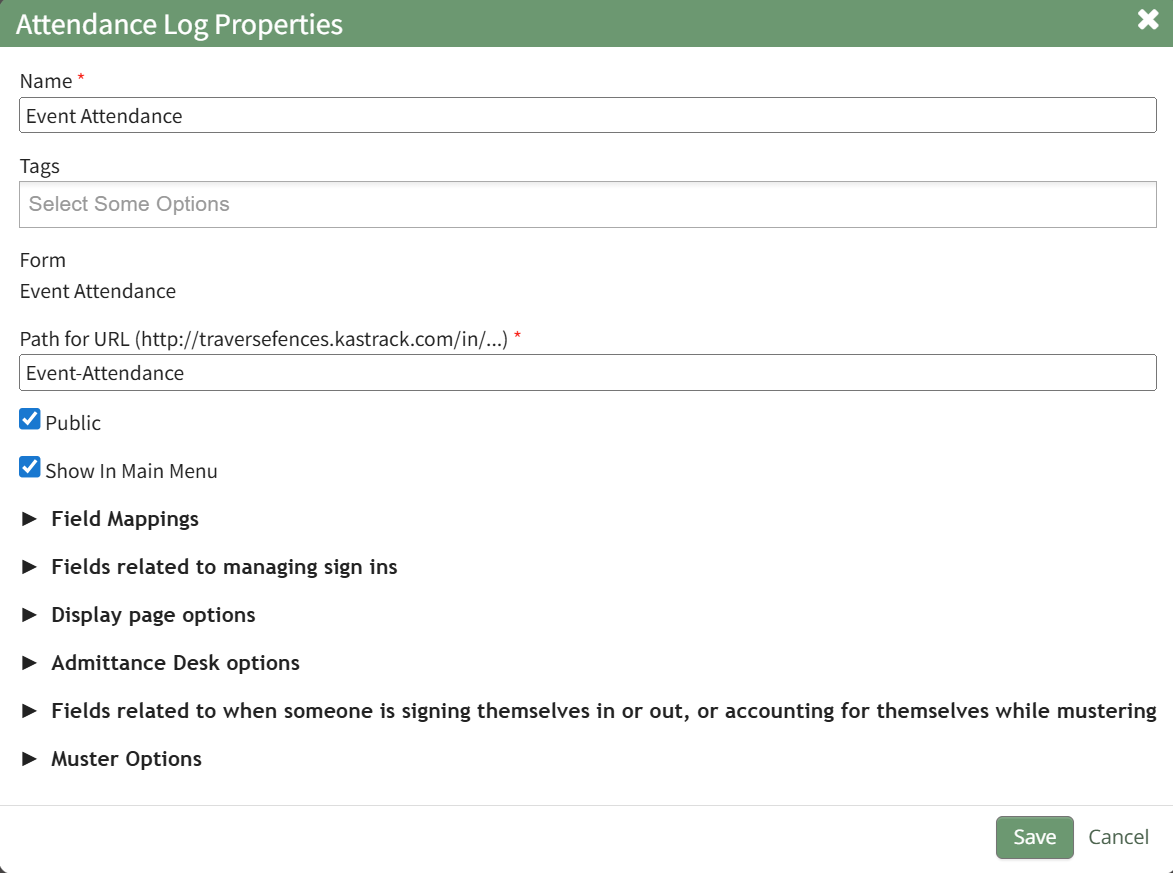
Click the arrow to the left of “Admittance Desk Options” to expand the section. The Admittance Desk Option Section impacts the layout of the Admittance Desk Page.
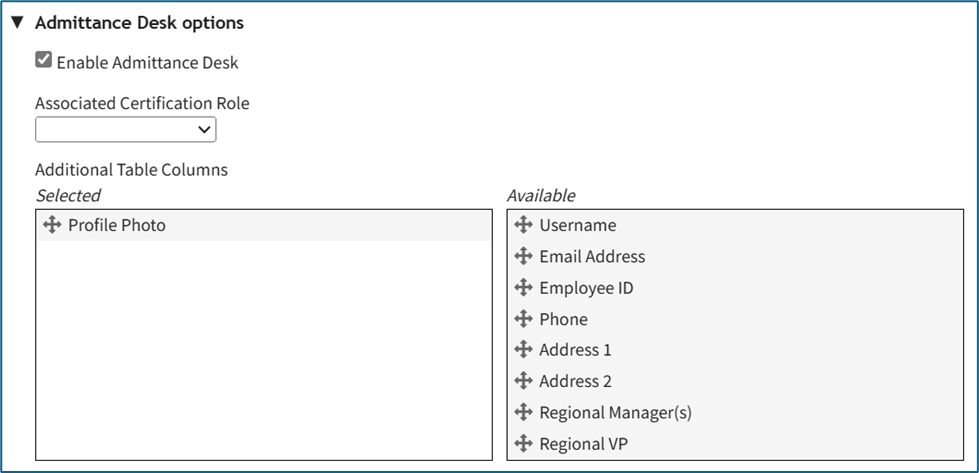
Select the “Enable Admittance Desk” checkbox. Now you can select the Associated Certification Role, and drag and drop any additional columns you want to see on the table. (Note: The available columns are based on your site’s account and custom account fields).
Click “Save” at the bottom of the Attendance Log Properties Modal. Next, navigate to the attendance log’s Information Page by clicking on the attendance log’s name, or by clicking the 3-dot icon to the right of the attendance log’s name to open the context menu, and select “Attendance Log”. You will see the Admittance Desk Button on the attendance log’s Information Page.
Click the Admittance Desk Button to view your Admittance Desk and use the Search Bar to find and manage individuals within the role.
If you enable the Admittance Desk directly from an attendance log’s Information Page by using the 3-dot icon on the page, you will need to refresh the page to see the button.
No comments to display
No comments to display