Create a Custom Report
To create a custom report, go to the Custom Reports Tab on the Manage Reports Page of the Reports Module.

Select the “New Report” button opening the New Report Modal.

Notes for filling out the modal are included in the table below.
New Report Modal Comments | ||
Input | Comments | |
Title | Input a title for the new report (a required field). | |
Primary Module | Select the primary module from a dropdown menu with the following options: Assets, Dispatch, Forms, Meetings, and People. | |
Tags | Select open, restrictive, or permissive tags as desired. | |
Also Visible To | A dropdown menu includes the options: People I Supervise, All Eligible Accounts, Certification Roles and Individual People. | To avoid errors or confusion, a user should not be included below unless they have permissions to view items referenced in this report. |
Also Editable By | ||
Rotate Report Checkbox | When the Rotate Report Checkbox is selected, the information in the rows of the first column become the column headers. (The x and y axis are switched.) | |
Make Report Public Checkbox | When the Make Report Public Checkbox is selected, the modal expands to include a textbox for the Link Path. The URL for the report will be https://[subdomainname].kastrack.com/reports/view-report[LinkPath} | |
Advanced Options | ||
Report SQL | Clicking the “Advanced” link opens a Report SQL textbox, an input area for writing SQL queries that can define the data the report will show. | |
Once you have input the necessary information, select “Save”. The new report will now show on the Custom Reports Tab of the Manage Reports Page.
Click the three-dot icon opening the custom report table context menu and Select “Report Wizard”.
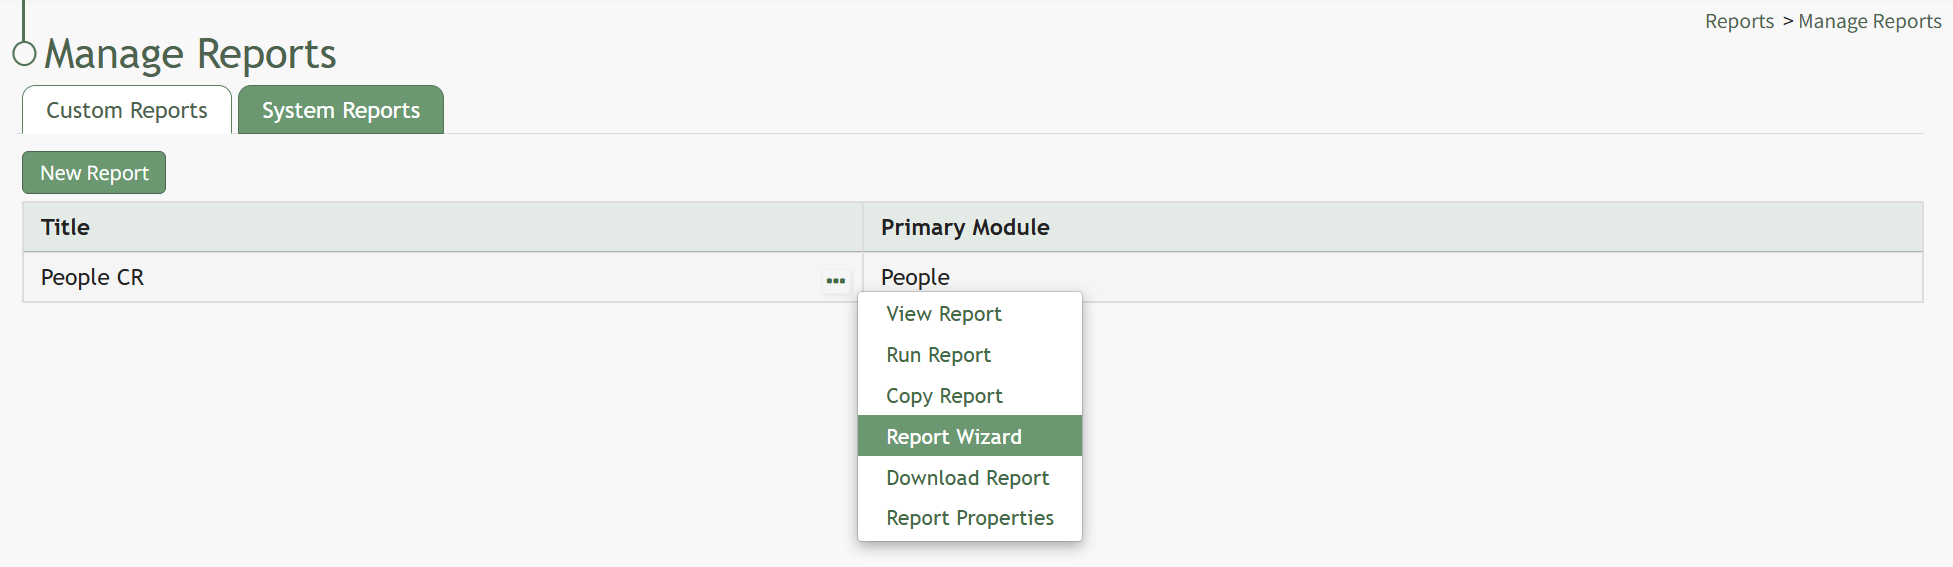
This opens the Report Wizard Page, where you can specifically decide which data should be represented in the report.

No comments to display
No comments to display