Add a Waypoint to an Itinerary
To add a waypoint to a dispatch itinerary, open the specific dispatch whose itinerary you wish to edit by adding a waypoint. Go to the Dispatch Module Home Page and alter the filter view as needed. Click the Dispatch Number or Title to open the specific dispatch page.

This opens the Dispatch Details Page.

Select the location icon to the right of the Itinerary header, opening the Add Waypoint Modal.
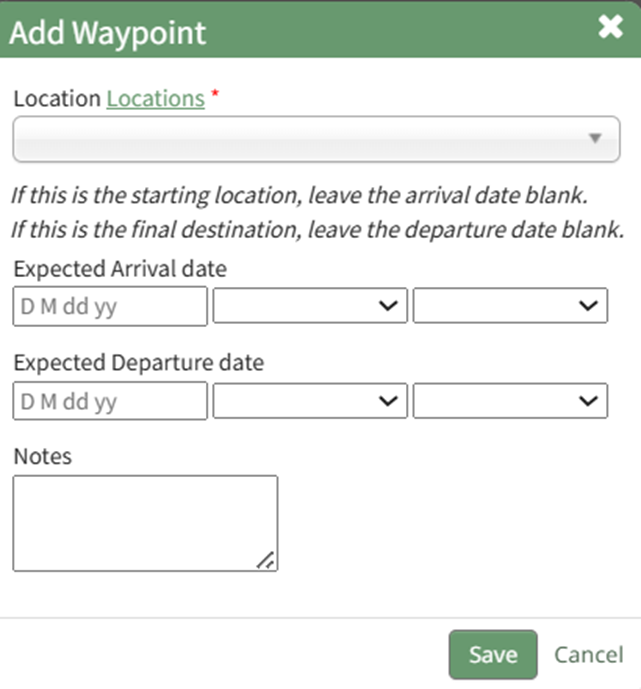
Select a specific location from the Waypoint Location from the dropdown menu or select on-off location if applicable. If one-off is selected, the modal expands so the specific location can input into a textbox.
If this waypoint is the starting location or final destination, leave the arrival date / departure date blank.
Customized locations can be added to the dropdown menu by clicking the “Locations” clickable link. This opens the Locations Database in the Database Module. WIKI LINK HOW TO ADD DISPATCH LOCATIONS TO THE LOCATIONS DATABASE FORM
Include the expected arrival date, departure date, and any notes relevant to the waypoint.
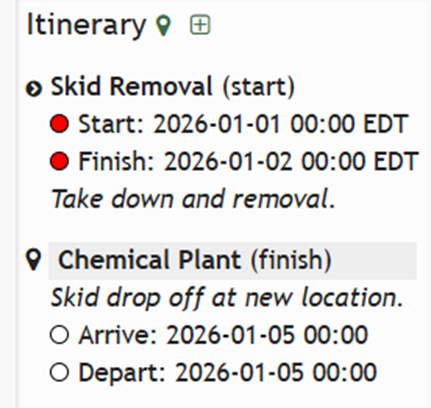
Select the “Save” button and the new waypoint now shows on the itinerary.
No comments to display
No comments to display