Actions Settings Page: Workflows Tab
The Workflows Tab allows a user with admin access level permissions to create and manage the workflows associated with action groups. The Workflows Tab displays the New Workflow button above the Workflow Title Table.
How To: Create a New Workflow
To create a new workflow, select Settings under the Action Module on the Main Menu. Open the Workflows tab.
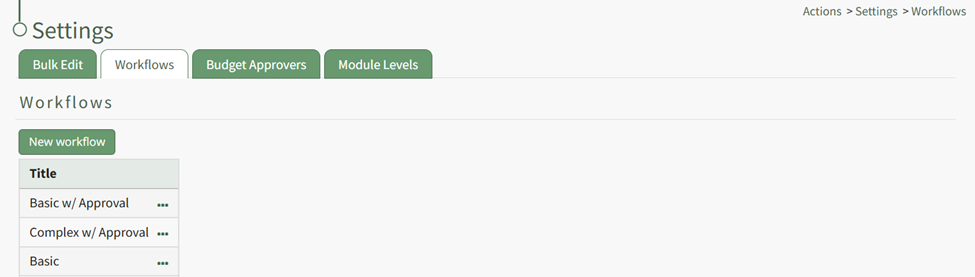
Click the “New Workflow” button opening the New Workflow Title Modal.
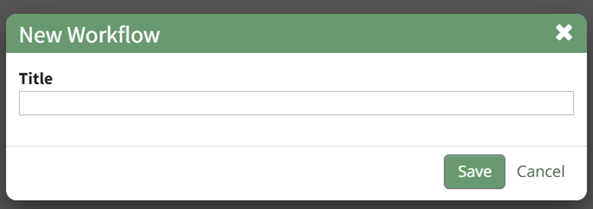
Input the title of the new workflow and select the “Save” button.
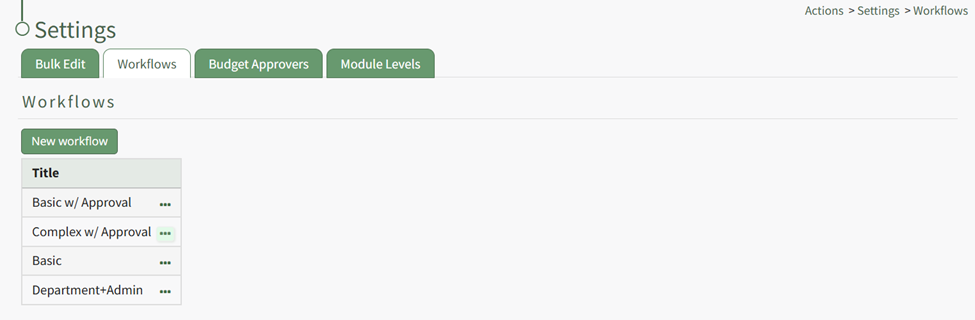
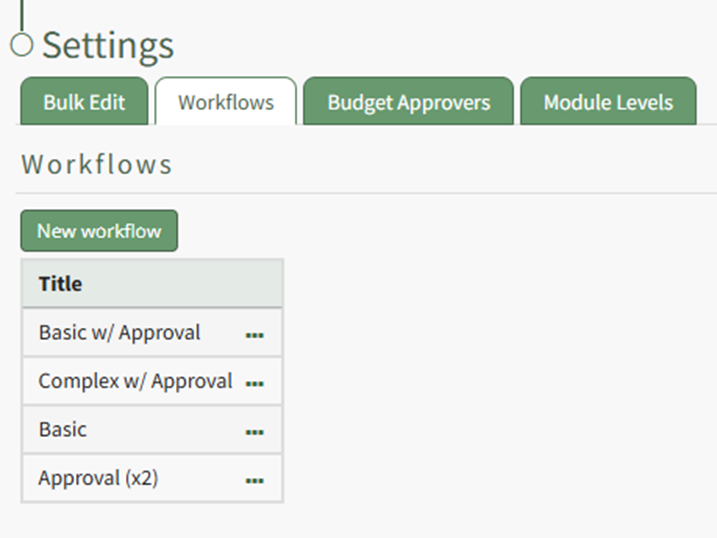
The new workflow is now visible in the Workflow Title Table. Click the three dot icon to the right of the new workflow opening the Workflow Context Menu.
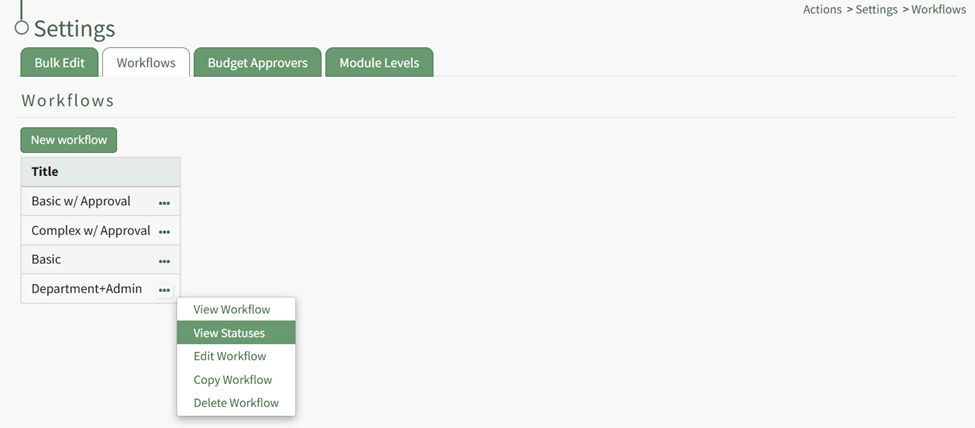
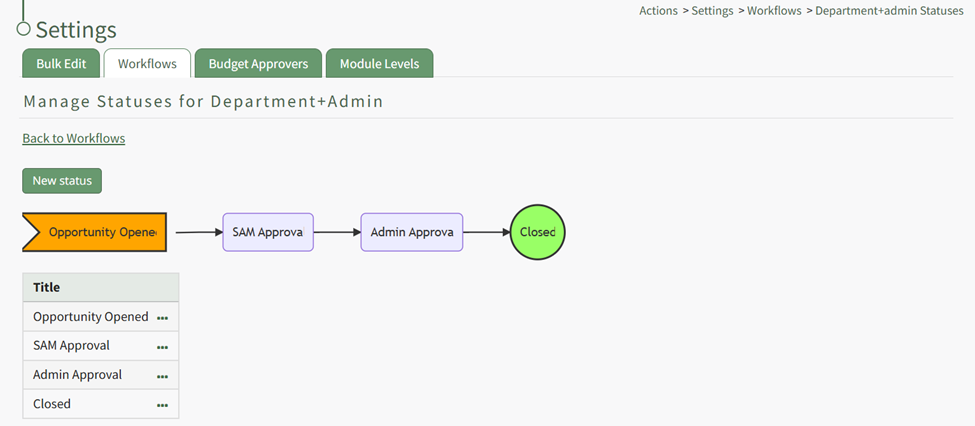
Select “View Statuses” opening the Manage Statuses Page for your workflow.
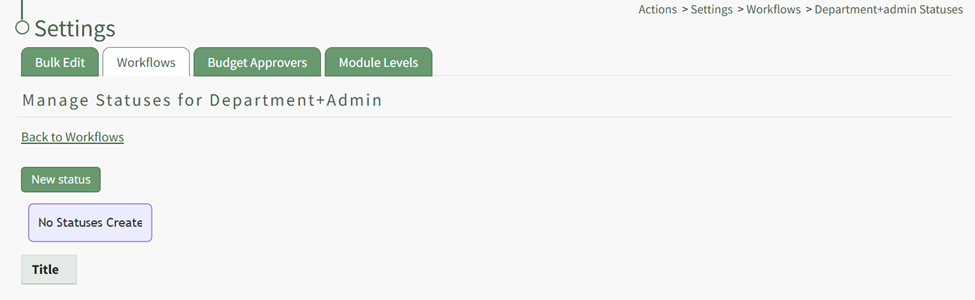
Click the “New Status” button opening the New Status Modal.
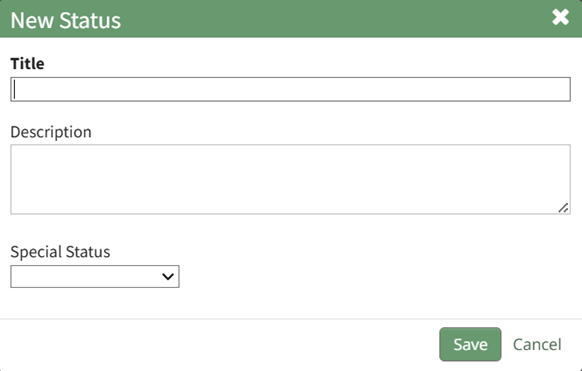
Input a title and description for the new workflow status.
The Special Status dropdown menu displays: Close, Close and Repeat, and Opened. Select which if it applies and select the “Save” button. The status now shows on the Manage Status Page.
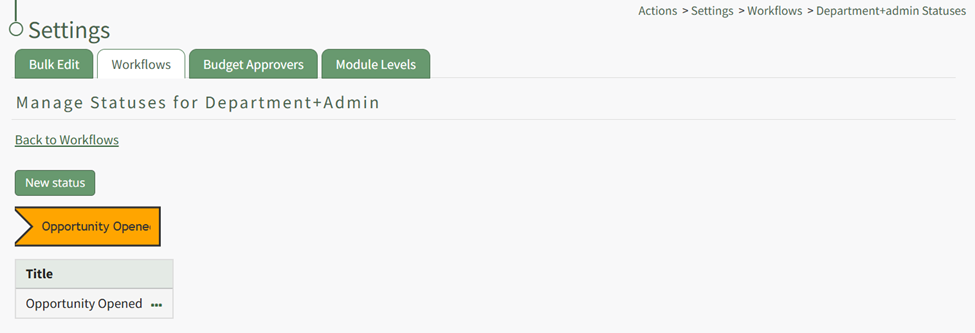
Repeat the process to create the next stage of your workflow.
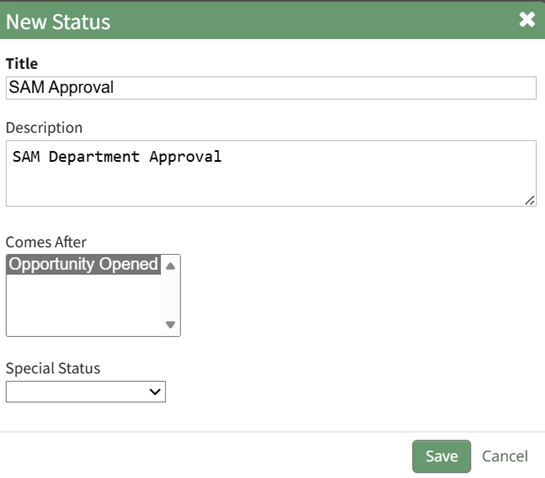
The New Status Modal will now require you to repeat the process, now requiring you to select which step this status is to follow. Repeat the process until your customized workflow has been completed.

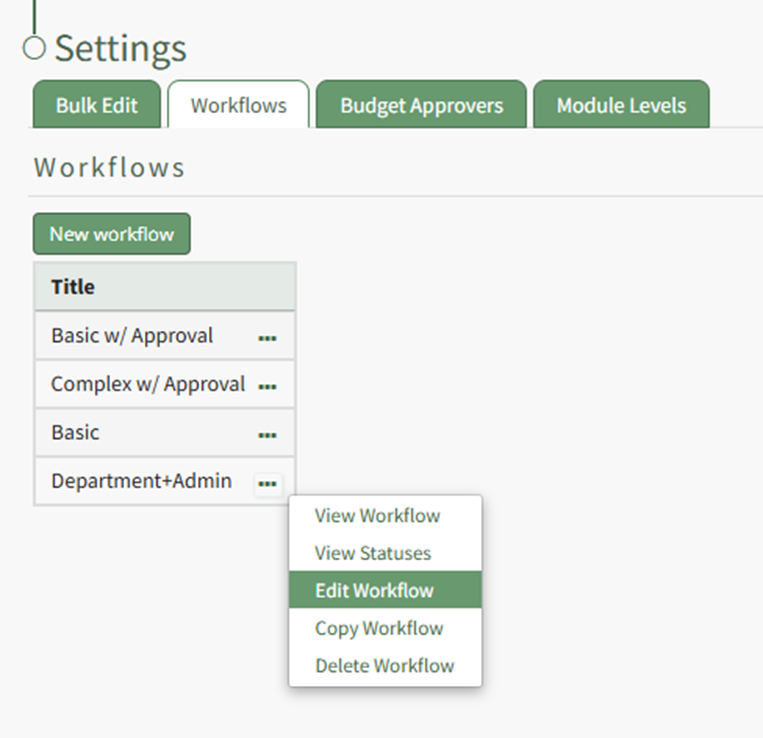
Selecting the three-dot icon to the right of the Workflow Title opens the Workflow Context Menu. An explanation of the context menu explanations is included in the table below.
Workflow Context Menu Option Explanation Table | |
Option | Explanation |
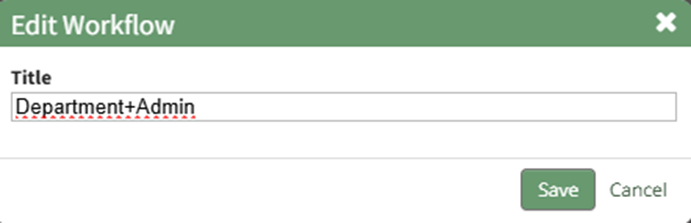
View Workflow | Selecting the "View Workflow" option opens the view Workflow modal which states the title of the workflow. |
View Statuses | Selecting the "View Statuses" option opens the Manage Statuses for WORKFLOW NAME page, both displaying the workflow and allowing for new workflow statuses to be created. How To: Create a New WorkflowTo create a new workflow, select Settings under the Action Module on the Main Menu. Open the Workflows tab.
Click the “New Workflow” button opening the New Workflow Title Modal.
Input the title of the new workflow and select the “Save” button.
The new workflow is now visible in the Workflow Title Table. Click the three dot icon to the right of the new workflow opening the Workflow Context Menu.
Select “View Statuses” opening the Manage Statuses Page for your workflow.
Click the “New Status” button opening the New Status Modal.
Input a title and description for the new workflow status. The Special Status dropdown menu displays: Close, Close and Repeat, and Opened. Select which if it applies and select the “Save” button. The status now shows on the Manage Status Page.
Repeat the process to create the next stage of your workflow.
The New Status Modal will now require you to repeat the process, now requiring you to select which step this status is to follow. Repeat the process until your customized workflow has been completed.
|
Edit Workflow | Selecting the "Edit Workflow" option Selecting the "Edit Workflow" option opens the Edit Workflow Modal that allows for the title of the workflow to be edited. How To: Edit a WorkflowThe default workflows (Basic, Basic with Approval, and Complex with Approval) cannot be edited. To edit a workflow, open the Workflows Tab on the Settings Page of the Action Module. Click the three-dot icon to the right of the Workflow title you wish to edit, opening the Workflow Context Menu.
Select “Edit Workflow”. This opens the Edit Workflow Modal.
Make any desired changes to the title of the workflow, and select the “Save” button.
Your title changes will now be reflected in the Workflow Title Table visible on the Workflows tab. |
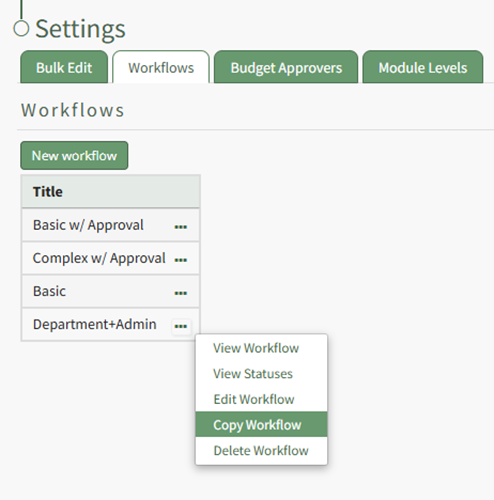
Copy Workflow | Selecting the "Copy Workflow" option opens the Copy Workflow Modal where a new title can be given to the copied workflow. How To: Copy a WorkflowTo copy a workflow, open the Workflows Tab on the Settings Page of the Action Module. Click the three-dot icon to the right of the Workflow title you wish to copy, opening the Workflow Context Menu.
Select “Copy Workflow” from the context menu, opening the Copy Workflow Modal.
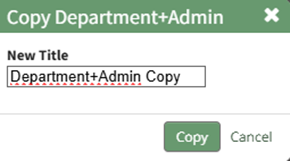
The word copy is inserted after the existing title, but the copied workflow can be renamed. Input the desired new title and select the “Copy” button
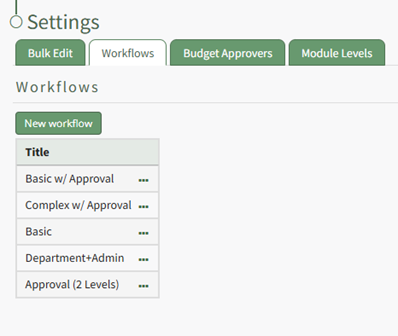
The copied workflow will now show in the Workflow Title Table and can be edited as needed. |
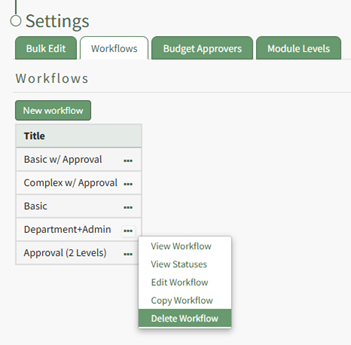
Delete Workflow | Selecting the "Delete Workflow" option opens the Delete Workflow Confirmation Modal which requires confirmation before the workflow will be deleted. How To: Delete a WorkflowTo delete a workflow, open the Workflows Tab on the Settings Page of the Action Module. Click the three-dot icon to the right of the Workflow title you wish to delete, opening the Workflow Context Menu.
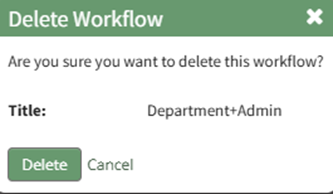
Select “Delete Workflow” from the context menu opening the Delete Workflow Confirmation Modal, which states the title of the workflow to be deleted with the question, “Are you sure you want to delete this workflow?”
Select the “Delete” button.
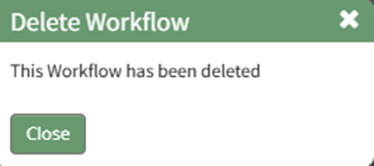
The modal changes to confirm that the workflow has been deleted. Select the “Close” button. The workflow is no longer visible on the Workflow Title Table. |
There are three default workflows (basic, basic with approval, and complex with approval) that cannot be edited.
No comments to display
No comments to display