Actions Settings Page: Bulk Edit Tab
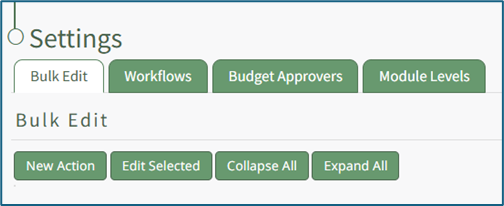
The Bulk Edit Tab on the Settings Page of the Actions Module allows for the simultaneous management of multiple action groups. If no actions have been created, the page displays four button options: New Action, Edit Selected, Collapse All, and Expand All.
Any action groups created in the Actions Module will appear in list form underneath these tabs and can be expanded to view the actions associated with them.
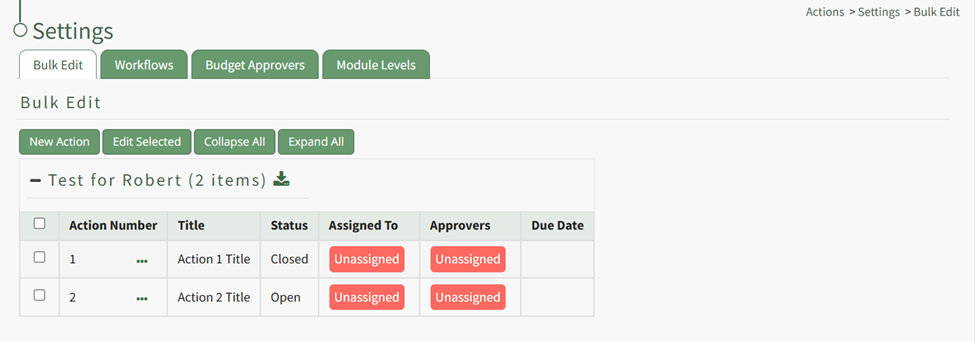
To the right of the action title is a three dot icon, that if clicked will open the Bulk Edit Action Context Menu. An explanation of each option is included in the table below.
Bulk Edit Actions Context Menu Option Explanation Table | |
Option | Explanation |
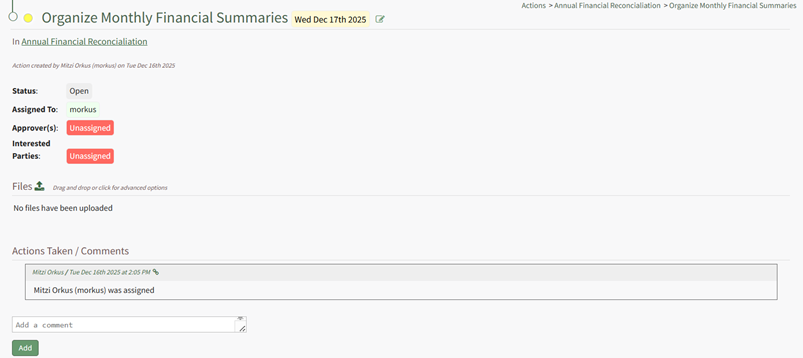
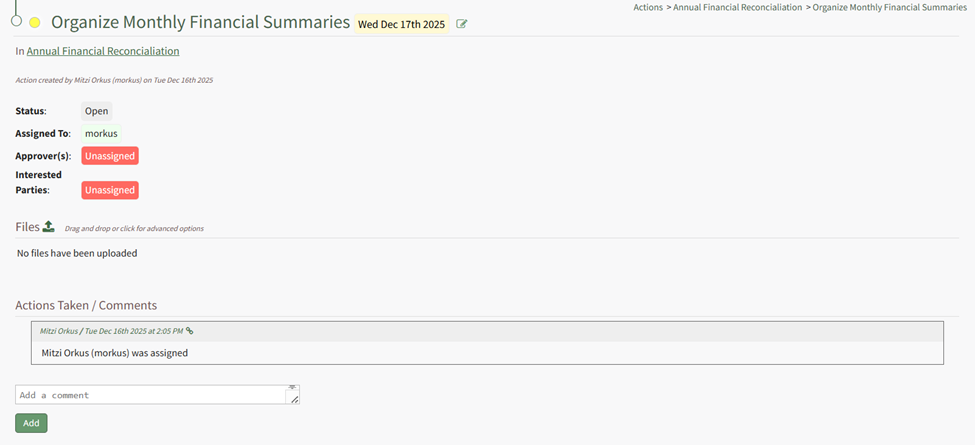
View Action | Selecting the "View Action" option will open the Action Page which pertinent information, including file uploads and comments. |
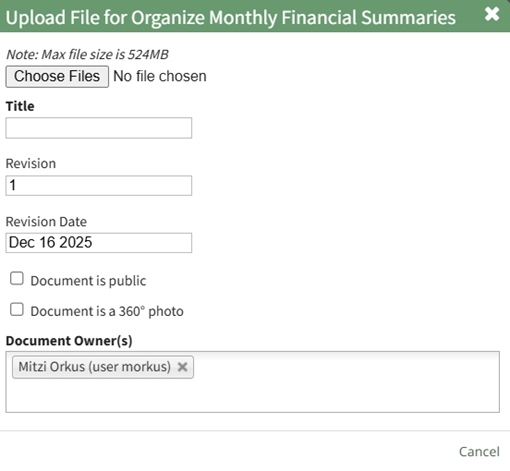
Upload File(s) | Selecting the "Upload File(s)" option opens the Upload File Modal, allowing you to attach a file to an action. How To: Upload Files to an ActionFiles cannot be uploaded through the Edit Action Modal. To upload a file to an action, click on an action title opening the individual action’s summary page.
Clicking on the upload icon to the right of the Files Section header opens the Upload File modal.
Select the file to be uploaded to the action by clicking the “Choose Files” button and selecting the desired file. Create a Title for the file or click "Use Filename", change the revision number, revision date if needed, and select the checkbox if the document is to be public or if it is a 360-degree photo. Edit document owners if needed. Select “Save” and the file will now show on the individual action page. |
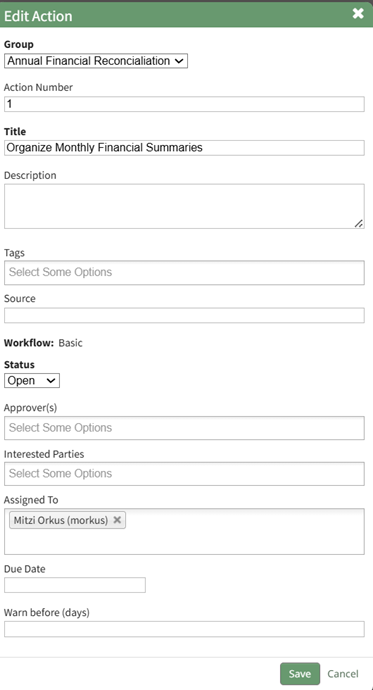
Edit Actions | Selecting the "Edit Actions" option open the Edit Action Modal, where key details about the action can be altered. How To: Edit an Existing ActionAn Action can be edited through the Edit Action Modal or the specified action’s detail page. To Edit Through the Edit Action ModalAlter the filter on the Actions Module Action Home Page to see the action you wish to edit. If the actions are displayed by group or due date, expand the section containing the action. Hover your cursor over the individual action you wish to edit displaying the edit action icon to the right of the Action Title.
Click the edit action icon opening the Edit Action Modal.
Make the necessary changes to the action and select save.
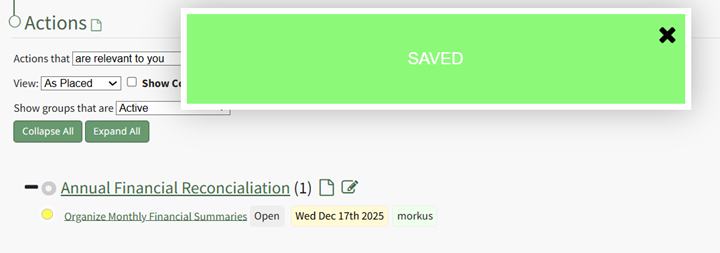
A confirmation modal stating “Saved” will appear, and the changes to the action will now be visible. To Edit Through an Individual Action PageClicking the Action Title will open the individual action’s Action Page.
The action can be edited by selecting the edit icon to the right of the action title.
|
Delete Action | Selecting the "Delete Actions" option opens the Delete Action Confirmation modal, which will permanently delete the action. How To: Delete an ActionTo delete an individual action, go to the Bulk Edit Tab of the Settings Page in the Actions Module.
Identify the action you wish to delete and click the three dot icon to the right of the action title, opening the Bulk Edit Action Context Menu. Select the option to “Delete Action” opening the Delete Action Confirmation Modal which states the title of the action to be deleted and asks the question, “Are you sure you want to delete this action?”
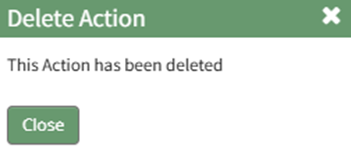
Clicking the “Delete” button changes the modal, which now states that the action has been deleted.
Select “Close” and return to the Bulk Edit Tab of the Settings Page. The action is no longer visible. The assigned action numbers do not automatically update when an action is deleted. Be sure to edit the action group to correct the order after deleting an action. |


No comments to display
No comments to display