Home Page
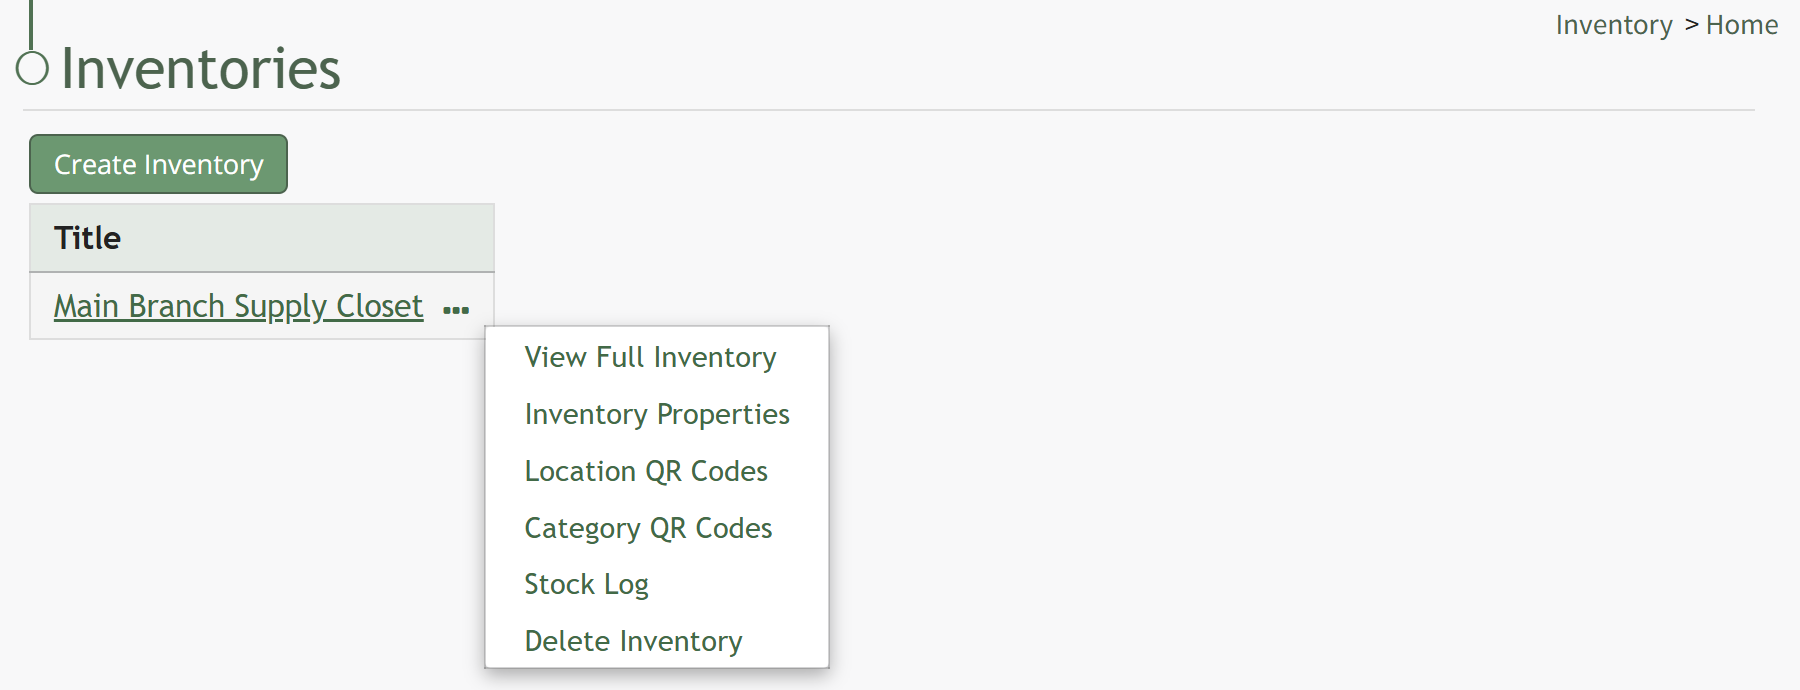
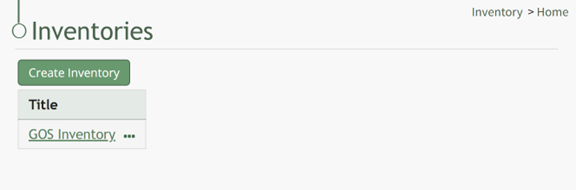
The Inventory Module Home Page is where all inventories in KAStrack are created, housed and managed. The Home Page of the Inventory Module displays the Inventory Table.

Inventory Table Context Menu Explanation
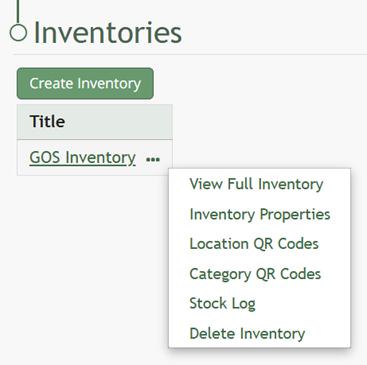
Selecting the triple dot (…) icon to the right of an inventory title in the Inventory Table will opens a context menu. The options and an explanation of each action are included in the table below.
Inventory Table Context Menu Explanation | ||
Option | Action | Image |
View Full Inventory | Selecting “View Full Inventory” from the context menu opens the inventory. |
|
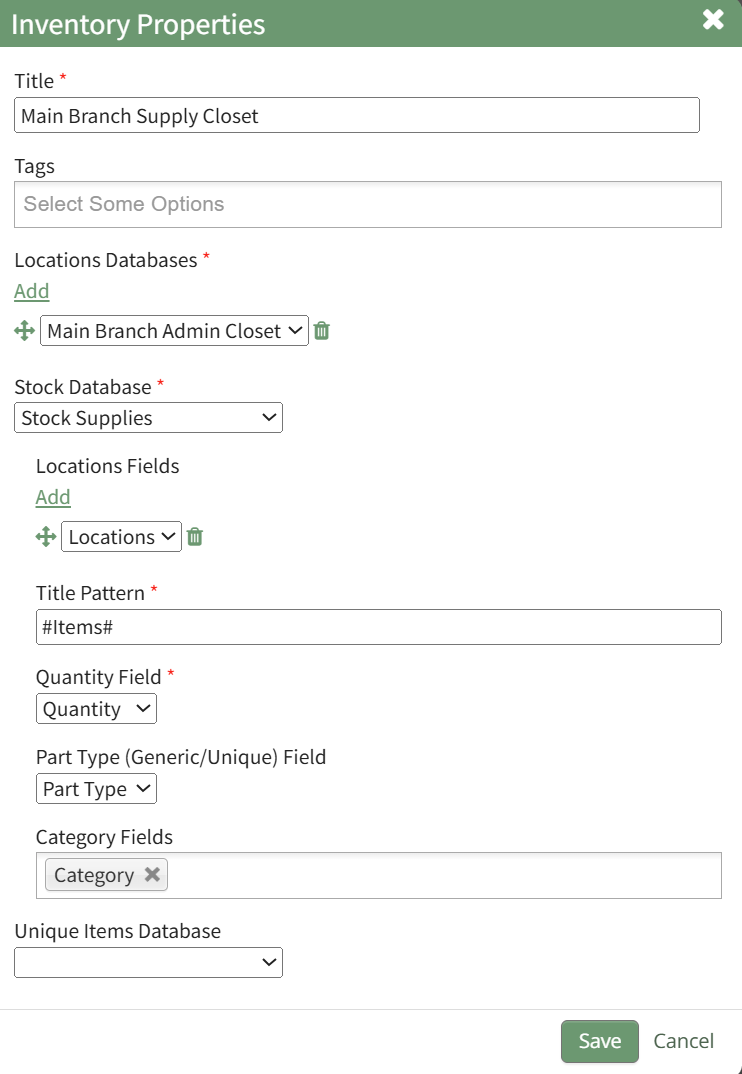
Inventory Properties | Selecting “Inventory Properties” from the context menu opens the Inventory Properties Module. How To: Edit an InventoryTo make edits to an existing inventory, go to the Home Page of the Inventory Module.
You can access a specific inventory by clicking the inventory title or by clicking the three dot (…) icon to the right of the inventory title and selecting “Inventory Properties”. This opens the Inventory Properties Modal.
From this modal, the title, tags, integrated databases selected, and the formatting for the way inventory items are displayed in an inventory can be altered. Make your desired changes to the inventory properties. Click “Cancel” to return to the full inventory without changes being saved. Select the “Save” button to record the changes to the inventory properties and return to the Inventory Page. | |
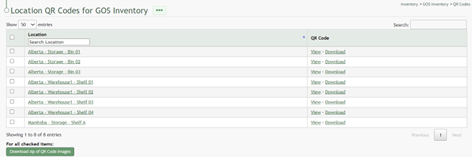
Location QR Codes | Selecting “Location QR Codes” from the context menu opens the Location QR Codes for (INVENTORY NAME) Page. |
|
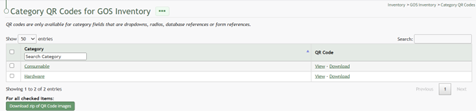
Category QR Codes | Selecting “Category QR Codes” from the context menu opens the Category QR Codes for (INVENTORY NAME) Page. |
|
Stock Log | Selecting “Stock Log” from the context menu opens the Stock Log for (INVENTORY NAME) Page. The stock log tracks all quantity changes in an inventory. |
|
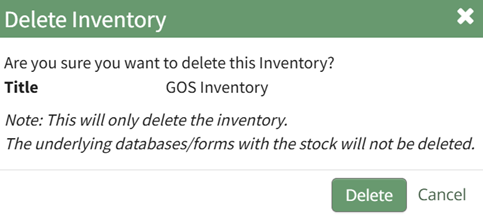
Delete Inventory | Selecting “Delete Inventory” from the context menu opens the Delete Inventory Confirmation Modal. How To: Delete an InventoryTo delete an inventory, open the Home Page of the Inventory Module.
Select the three dot (…) icon to the right of the Inventory Title you wish to delete, opening the Inventory Title Table context menu. Select “Delete Inventory” from the context menu, opening the Delete Inventory Confirmation Modal. The modal states, “Are you sure you want to delete this inventory?" This will only delete the inventory. The underlying databases/forms with the stock will not be deleted.
Select the “Delete” button to confirm the inventory deletion and return to the Inventory Module homepage. Click “Cancel” to return to the Home Page without deletion. |
|


No comments to display
No comments to display