Documents Module (Primary Suite)
How To: Add a New Document
To upload a new or revised version of a file in the Documents Module, open the Documents Home Page from the Main Menu and navigate the repository to the location where you want to add an additional folder.
To create a nested file within a folder, first open the parent folder. This will prevent you from having to move the file after the upload is complete.
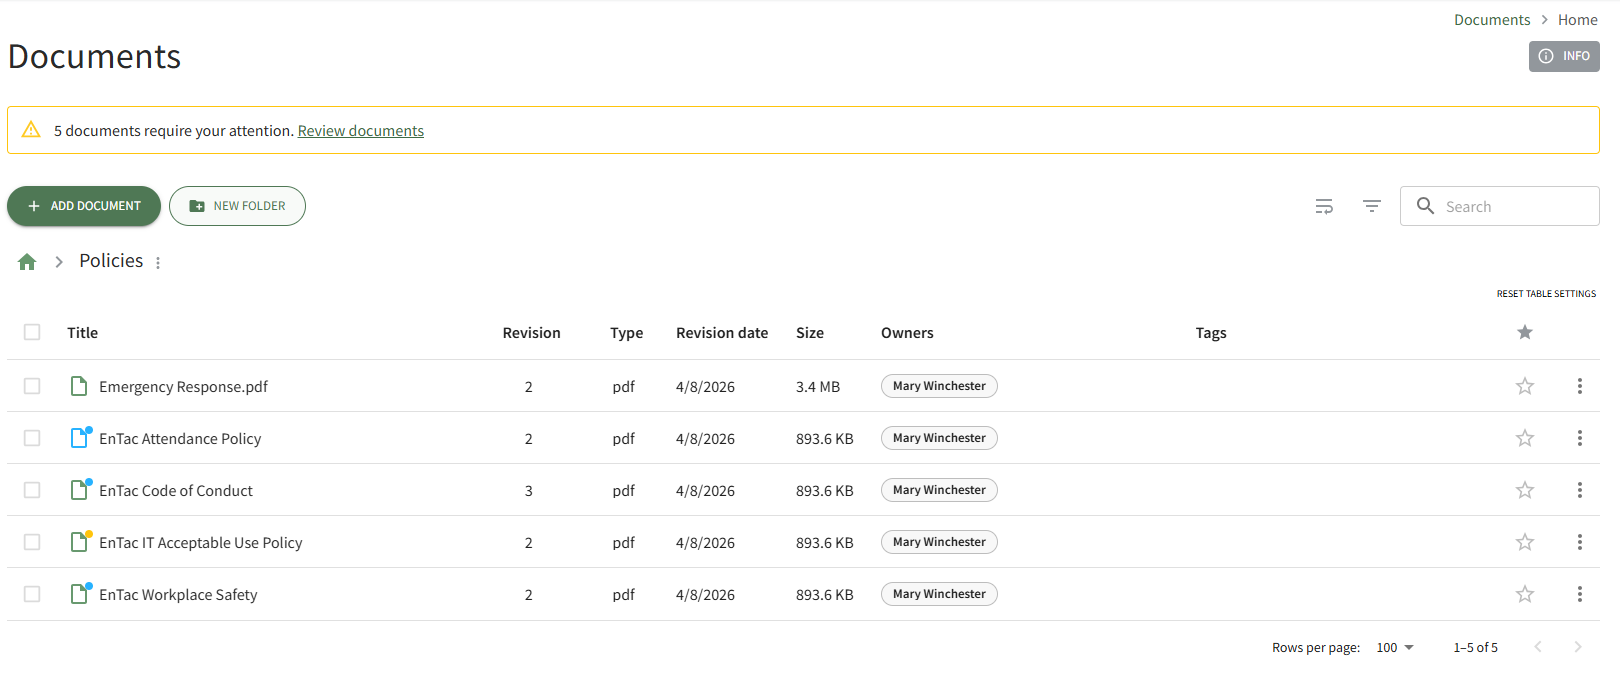
Select the Add Document button beneath the Home Page header. This opens the Add a New Document Modal.
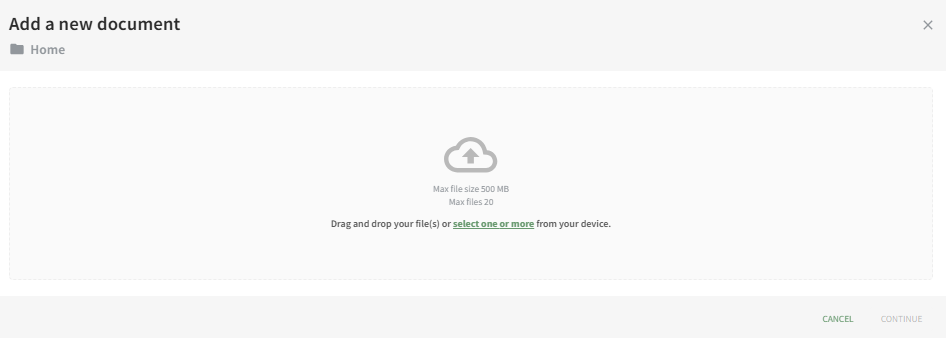
Drag and drop file(s) or select them from your device. Once the desired documents are chosen, select “Continue,” opening the second screen of the Add a New Document Modal.
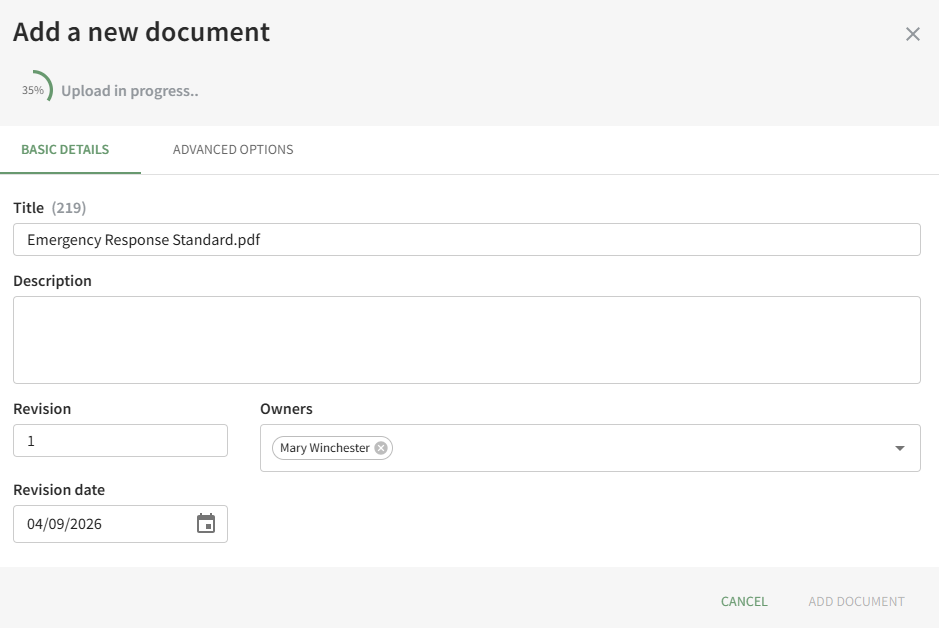
Use both the Basic Details Tab and the Advanced Options Tab to designate the appropriate properties for the document and click the Add Document button. (A detailed explanation of the customizable document properties on both tabs has been included below.)
A pop-up confirms that the new document was successfully added.
Basic Details
Under the Basic Details Tab, the user can input a title, description of the file, revision number and revision date. They can also designate any document owners (the uploader is initially included as an Owner by default) and tags.

If the incorrect file was selected, the user can click “Select a different file” from the top right corner of the modal to exchange it with the correct file.
Document owner(s) can be selected from a dropdown list of users.
Document owners have the ability to approve documents, which is relevant for companies who are required to attest an annual/periodic review for regulatory agencies or other governing bodies. Document owners are also notified any time a new comment is made on a file and are responsible for affirming continued suitability of the file if enabled under Advanced Options.
Advanced Options
Selecting the Advanced Options Tab allows the user to apply enhanced settings to the file. An explanation of each Advanced Options checkbox is included in the table below.

Document Advanced Options Explanations | |
Checkbox | Explanation |
Document is Public | Selecting the “Document is public” checkbox allows individuals who are not users in the KAStrack system to view files. Users in KAStrack will need appropriate permissions to view the file regardless. |
Document is 360° Photo | Selecting the “Document is a 360° photo” checkbox communicates to KAStrack that the file is intended for 360° viewing to ensure it shows correctly. |
New Revisions Require Approval | Selecting the “New revisions require approval” checkbox opens a dropdown menu. Approval requirements for the file can be designed by Access Level, Certification Role, or specific individuals in the system. An additional checkbox can be selected if this revision requires approval.
Users view the files that require approval on the Documents Module Review Page. |
New Revisions Require Acknowledgement | Selecting the “New revisions require acknowledgement” checkbox allows acknowledgement requirement customization.
The “This revision requires acknowledgement” checkbox will notify the Access Levels, Certification Roles, or individuals selected of the new document. If “Acknowledgement is required for login” is selected, a user will not be able to access anything in KAStrack until the user acknowledges the revised document. A textbox allows the user to include a customized acknowledgement message that will be included in the automated message sent out to users by KAStrack. Users view the files that require acknowledgement on the Documents Module Review Page, or just after signing in, when “Acknowledgement is required for login” is enabled. |
Send Notifications of New Revisions | Selecting the “Send notifications of new revisions” checkbox allows a user to customize (by Access Level, Certification Role, or individual) who receives an email notification that a new file revision has been updated in KAStrack. An additional checkbox can be selected if a notification is to be sent for this revision.
Users view the files they have received notification of on the Documents Module Review Page. |
Requires Future Review by Owner | Selecting the “Requires future review by owner” checkbox allows the user to schedule the next review date and set a reminder for the review deadline.
Users review files for continued suitability on the Documents Module Review Page. |


How To: Add a New Folder
To create a new folder in the Documents Module, open the Documents Home Page from the Main Menu and navigate the repository to the location where you want to add an additional folder.
To create a nested subfolder within a folder, first open the parent folder. Then follow the steps to add a new folder below.
Select the New Folder button beneath the Home Page header. This opens the New Folder Modal.
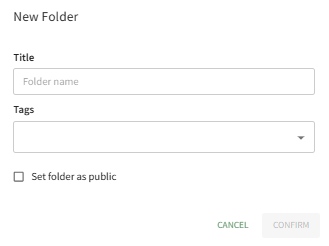
Input the title for the new folder.
If you would like the folder to be accessible to individuals that do not use KAStrack , select the “Set folder as public” checkbox. If the files in the folder are not for public consumption, leave the box blank.
Select Confirm and the new folder will be added to the Folder/File List on the Documents Home Page.
How To: Create a New Module Level (Documents)
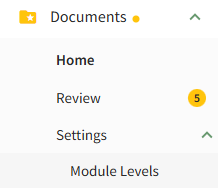
To create a new Module Level with customized permissions in the Documents Module, select Module Levels under Settings in the Documents Module on the Main Menu, opening the Settings Page to the Module Level Tab.
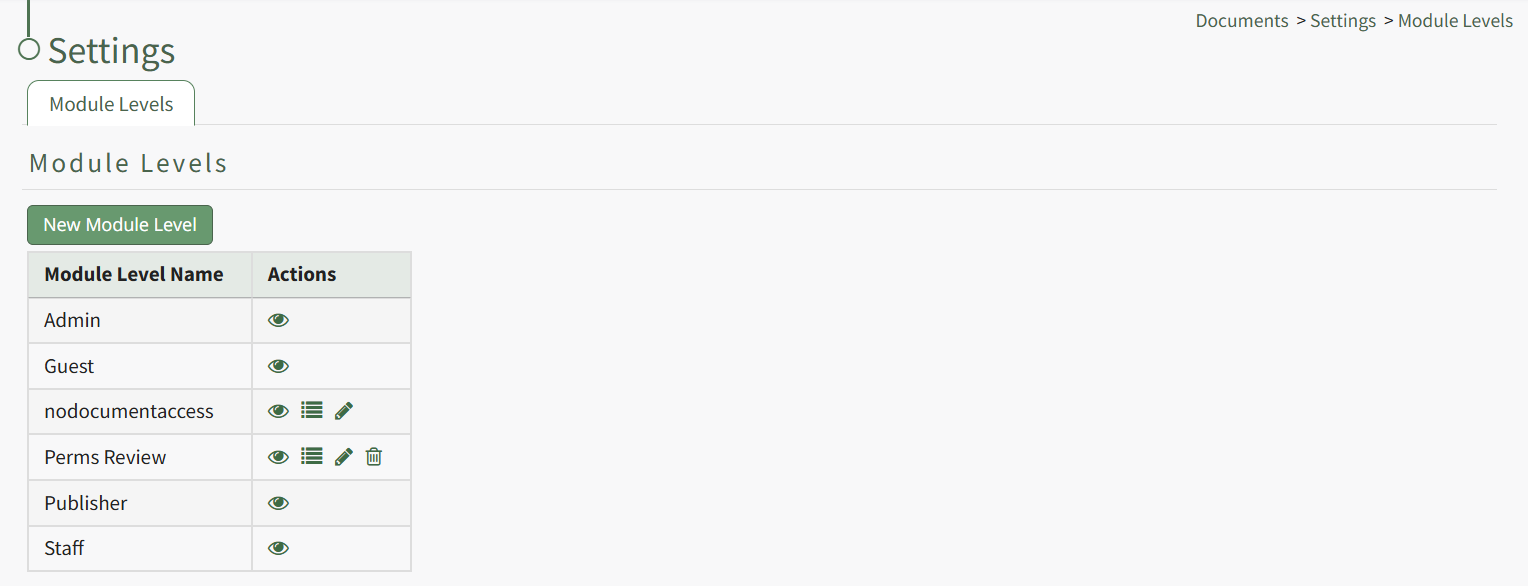
System default module levels cannot be customized. Module levels that are specific to your organization have additional actions to enable customization.
To create a new module level, select the New Module Level button opening the New Module Level Modal.
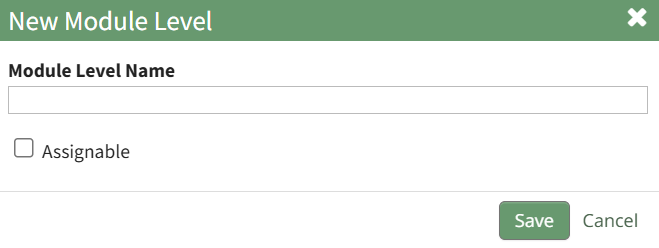
Input the name of the customized module level.
Check the box for Assignable to give permission for the new module level to be assigned to users if desired and click the Save button. Module levels will be listed alphabetically in the Module Level Table.
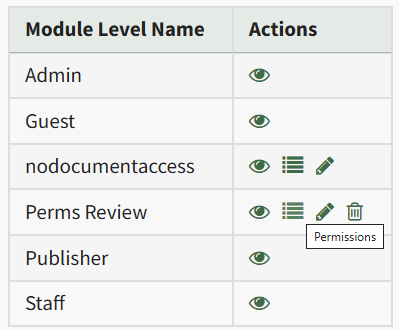
Select the Permissions icon (the bullet point list to the right of the eye) in order to assign the customized permissions to the new Module Level. Click the checkbox to the left of the permissions you want to assign.
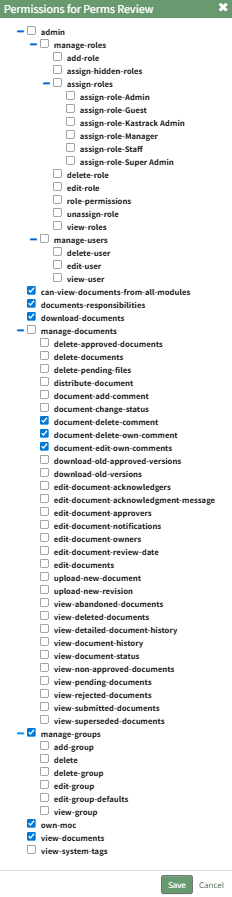
Select the Save button.

A pop-up confirms that the permissions were saved.
Access levels for all modules can also be managed in the Site Settings Module on the Access Levels Tab.
How To: Move a File / Folder
To move a file/folder in the Documents Module, open the Documents Home Page from the Main Menu and navigate the repository to the file/folder you want to move.
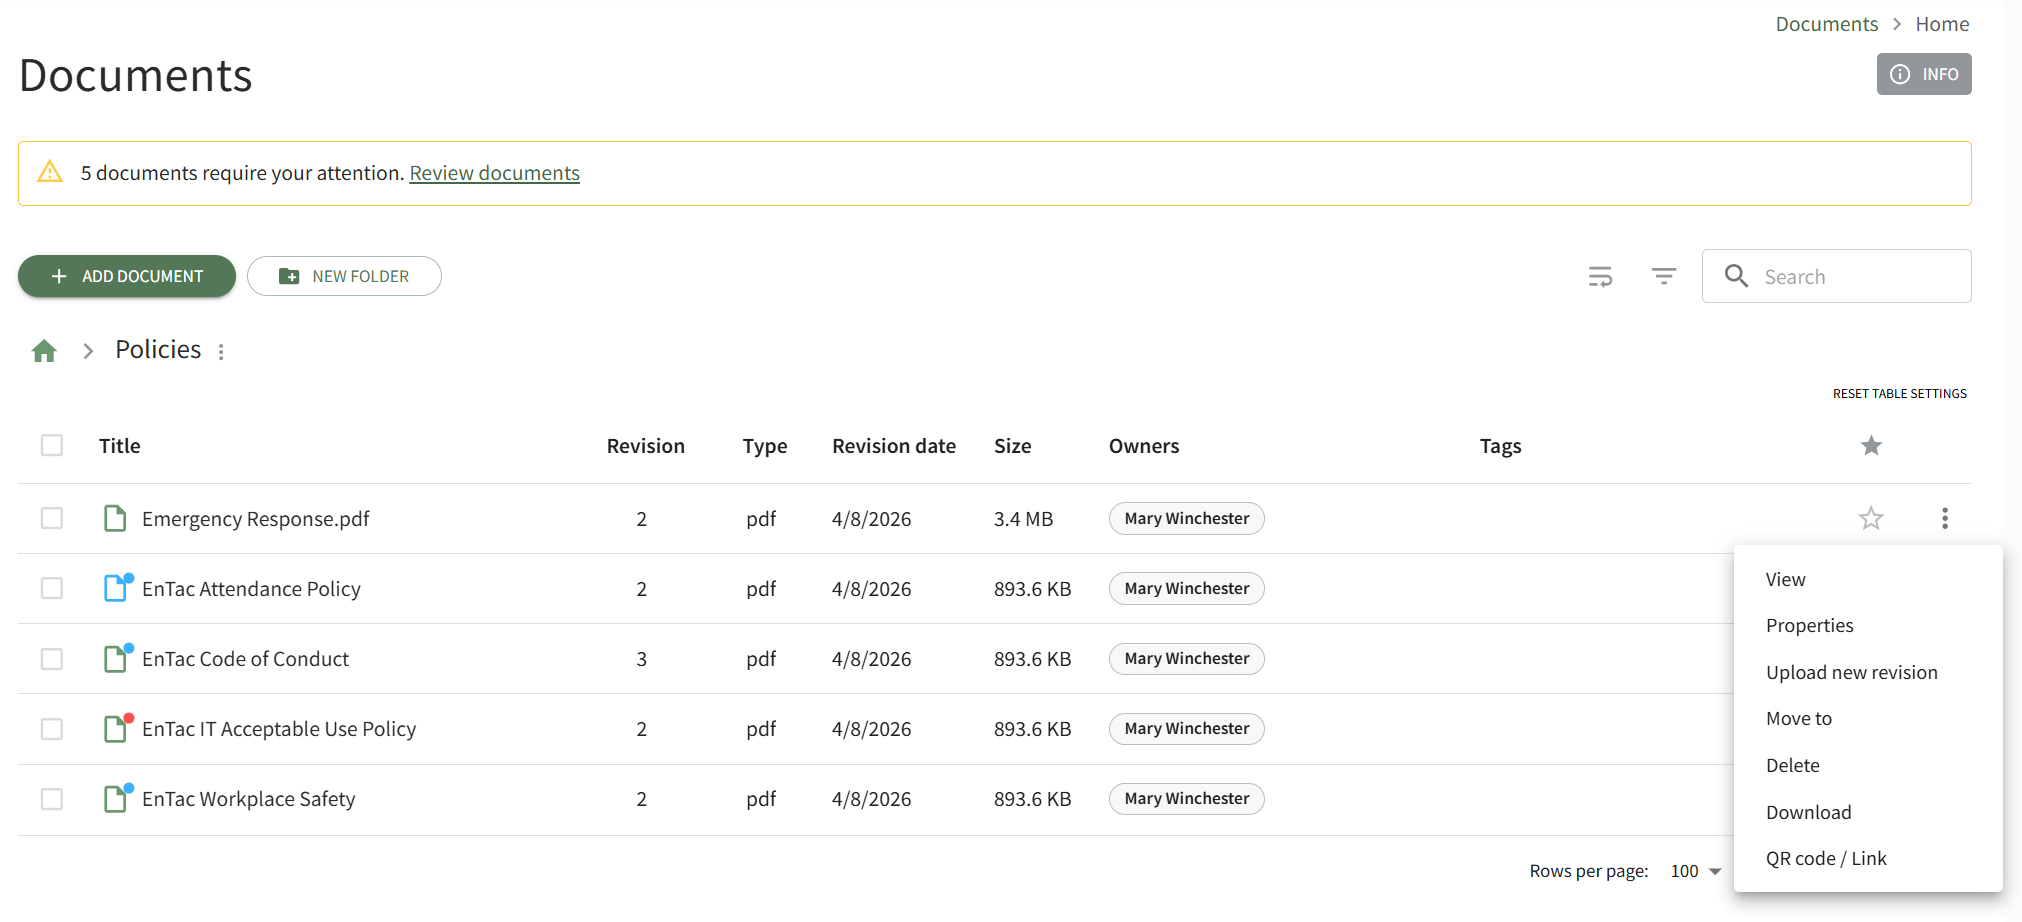
Click the vertical three-dot icon to the right of the file you wish to move, opening the file's context menu. Select Move To, opening the Move To Modal.
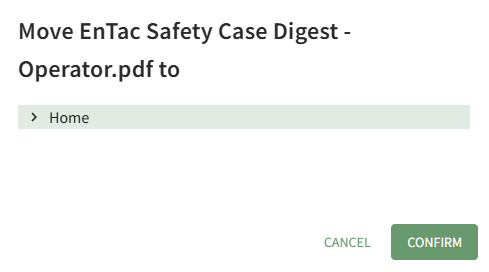
The right arrow indicates a collapsed folder. Click it to expand and see all the subfolders contained within it. The down arrow indicates an expanded folder. Click it to collapse the parent folder and remove all subfolders from view.
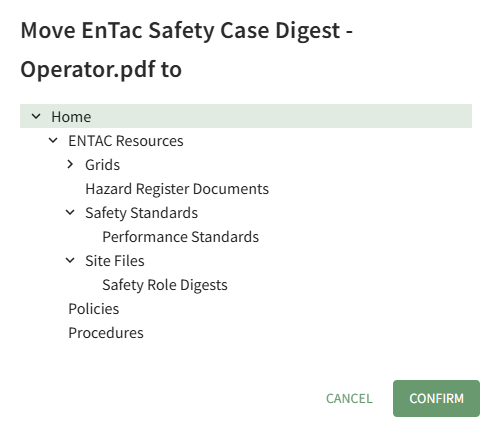
Select the folder you wish to move the file/folder to, then press the Confirm button.
A pop-up confirms that the file was relocated.
How To: View and Manage Files
Create a New Module Level (Documents Module)