Send Communications Page
The Send Communications Page of the Communications Module allows individuals with the appropriate module access level (administrators and supervisors by default) to send communications within KAStrack.
All communications sent via KAStrack are logged.
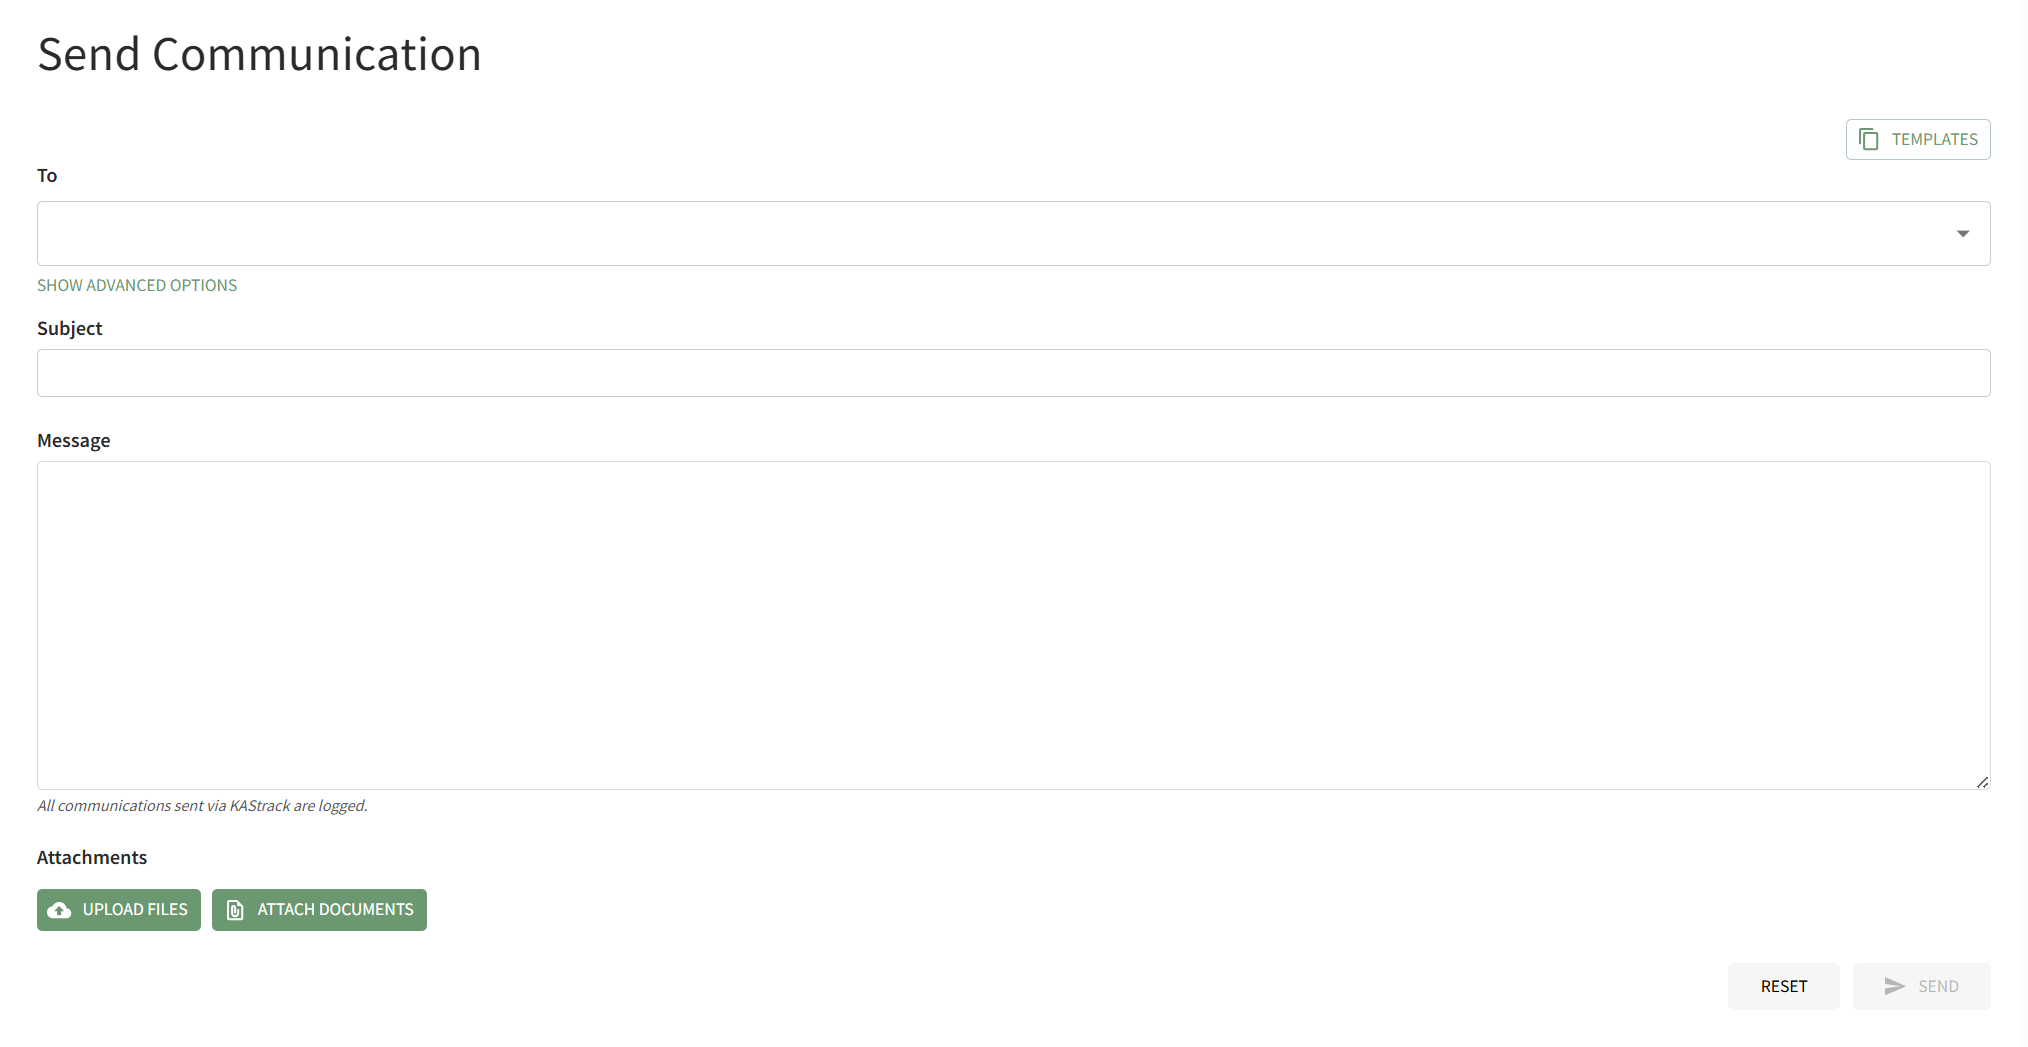
To send a message in KAStrack from the Communications Page, select the individuals, Certification Roles, or Access Levels who are to receive the message being sent, inputting a subject line and message. Communications can have attachments from your personal device uploaded to them or have files from the Documents Module attached.
How To: Send an Email in KAStrack
How To: Upload a File to an Email
How To: Attach a Documents Module File To an Email
How To: Use a Communications Template when Sending an Email
If a Communication Template is applied to a message on the Send Communications Page, the template will override any information that was manually entered in the subject line and message field.
How To: Create New Communication Templates
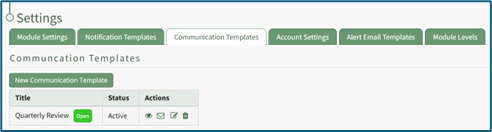
To create a new communication template, go to the Communication Templates Tab on the Settings Page of the Communications Module.

Select the “New Communication Template” button opening the New Template Modal.

Input the Title for the Template.
Select Active / Inactive from the dropdown menu to indicate if the template is available for use.
Both individual people and certification roles can be selected as desired recipients via dropdown menu in the “Send To” line.
Include the subject line for communications, as well as a message.
An attachment can be uploaded from your personal device to be included in the template, or you have the option to select one or more files from KAStrack’s Document Module.
KAStrack documents that are tagged may limit visibility of this template. Specifically, if a template contains a tagged document you cannot see, you will be unable to see the template when sending a communication. Individuals with access to a Document that has visibility restrictions for others via Tags cannot use Send Communication to send that tagged Document to users that lack the authorization to see it.
Select “Save” and the New Communications Template will show in the Communications Template Table on the Settings Page.
The template can now be applied as desired when sending communications in the system on the Send Communications Page. You can also click the closed envelope symbol in the Communication Templates table to go to the Send Communications page and pre-fill the chosen template.
Advanced Options
Clicking “Show Advanced Options” beneath the To field expands the Send Communication Page showing advanced options for sending messages.
By default, Advanced Options are only available for Admin Access Levels.
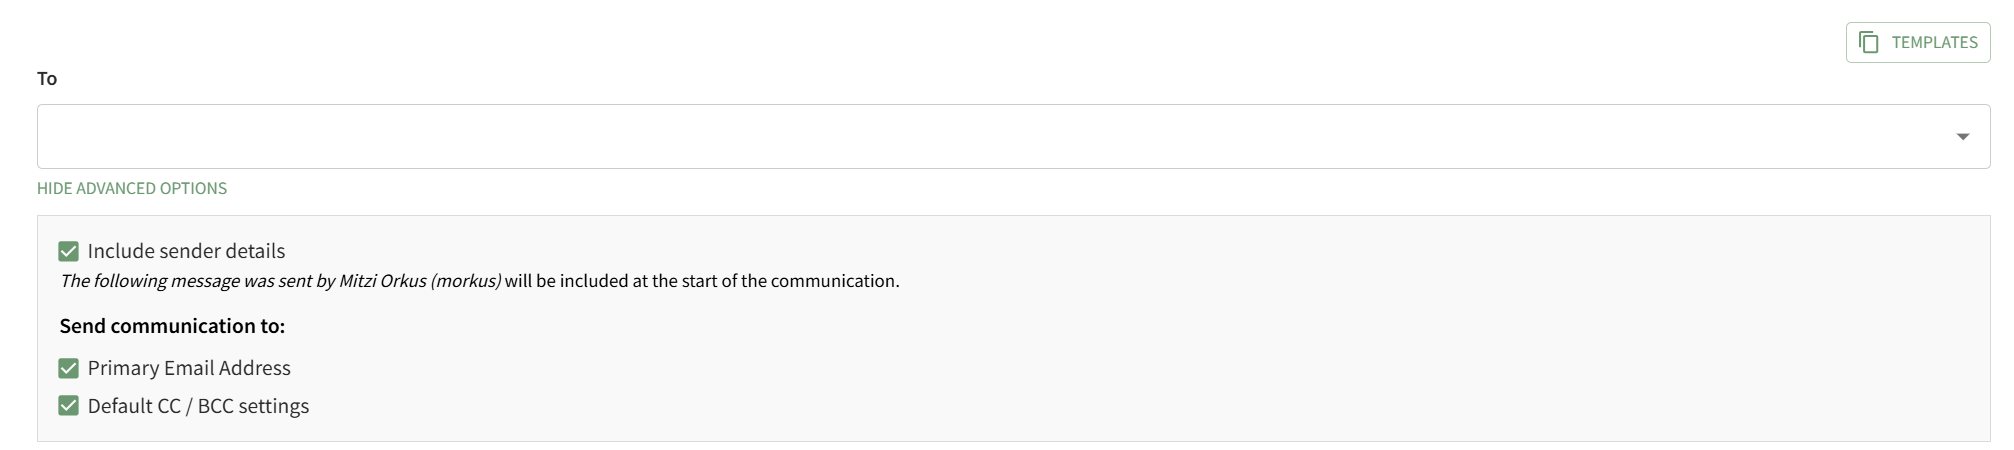
Selecting the “Include sender details” checkbox will include the following message at the start of the communication, “The following message was sent by FIRST NAME LAST NAME (Username).”
Selecting the “Primary Email Address” checkbox will send the communication to the primary email address of the individuals or certification roles listed in the “To” line. The Primary Email Address refers to the system account field “Email” on users’ accounts.
Selecting the “Default CC / BCC Settings” checkbox will send the communication per the customized specifications made on the Module Settings Tab of the Settings Page in the Communications Module.
Any other additional account fields set as type “Email” will show below the “Default CC/BCC Settings” checkbox. If the additional account information field is already selected through the CC/BCC Settings, it will show in gray and state “(Already CC’d)”.

Any additional account information fields not already included through your customized settings will show with a checkbox and can be added if desired.
In order to customize CC/BCC Settings, review the section on the Module Settings Tab.
How To: Set Up Additional Account Fields for Email Settings
To utilize the CC and BCC Email Settings on the Module Settings Tab of the Settings Page in the Communications Module, you must first set up additional user account information fields.
To set up additional user account information fields with email settings, go to the Account Fields Tab of the Site Settings Module.

Select “Add a Field” beneath the Custom / Additional User Account Information Fields opening the Add Field Modal.

Enter a Label for the new field, and select “email” as the type of field.
The checkboxes below allow for customization. Select “Allow multiple values” if there could be multiple emails associated with this field for an account. Select “Required” if you would like to require that this field be filled out for each account. Selecting the “Sensitive field” checkbox will tell KAStrack not to show this information when the field is being included in a report or form entry.
Select the permissions to be granted for each Accounts Module Level for this field, communicating if each Module Level can view their own/others and edit their own/others.
Under Accounts Module Level in the permissions grid, “Logged out user” refers to how fields will be displayed to users creating their account via a Registration Profile Link. To allow users to fill in information for the chosen field, ensure that the Edit Own permission is enabled for that field for “Logged out user”.
Select “Save” to create the new account information field.

The newly created email account fields will now show on the Account Info: (UserName) Page.
No comments to display
No comments to display