Matrix Page
The Matrix Page in the People Module allows for a quick visualization of all available user’s certification statuses in table format. The Matrix Page can be accessed from the Main Menu.
A filter box immediately below the Matrix Page header allows an administrator/supervisor to filter by tags. Tags can be created as desired within the Tags Module on the Manage Page.
How To: Create a New Tag from an Entity in Another Module
To create a new tag while creating or editing a new entity in a module other than tags, type in the desired new tag name in the tag field for the entity. For aid in visibility, emojis can be used in the tag name.
How To Determine if a New Tag Can be Created when an Entity is Created / Edited | |
Some modules allow for a new tag to be created when an entity is being created or edited. You can identify if this feature is enabled for an entity by typing in the desired tag name. If this feature is enabled, you will see a line under the Tags Field that states, “Press Enter to add new tag.” If this feature is not enabled, you will see a line under the Tags Field that states, “No options”. | |
Possible |
|
Not Possible |
|


Press “Enter” after typing in the new tag name.

Finish creating / editing the entity as desired. After saving your changes to the entity, the Tag will be created. By default, the new Tag will have Open behavior, and be assigned the “uncategorized” category. To make changes to these settings, go to the Manage Page of the Tags Module.

The newly created tag will be available on the Tags List on the Tags Tab.
Click the vertical dot icon on the far right opening the tag context menu. Select “Edit” opening the Edit Tag Modal.

Alter the Tag Title, Category and Behavior as desired.
How To: Edit a Tag
To edit a tag, go to the Manage Page in Tags Module. Select the Tags Tab.

Click the vertical three dot menu to the far right of the tag you wish to edit.
Select “Edit” from the context menu opening the Edit Tag Modal.

Alter the title, category, and behavior as desired. If the tag is permissive or restrictive, you can alter who it is visible to.
Select the “Update Tag” button to save the changes.

A confirmation modal appears at the bottom of the Manage Page, indicating the tag was successfully updated.
Select the “Update Tag” button and your changes will be saved.
You can only filter Certifications by Tags that you have access to.
Selecting the appropriate checkbox will group accounts by supervisor, group certifications by role, or hide users with no required filters.
Administrators can update assigned certifications records within the Matrix Table.
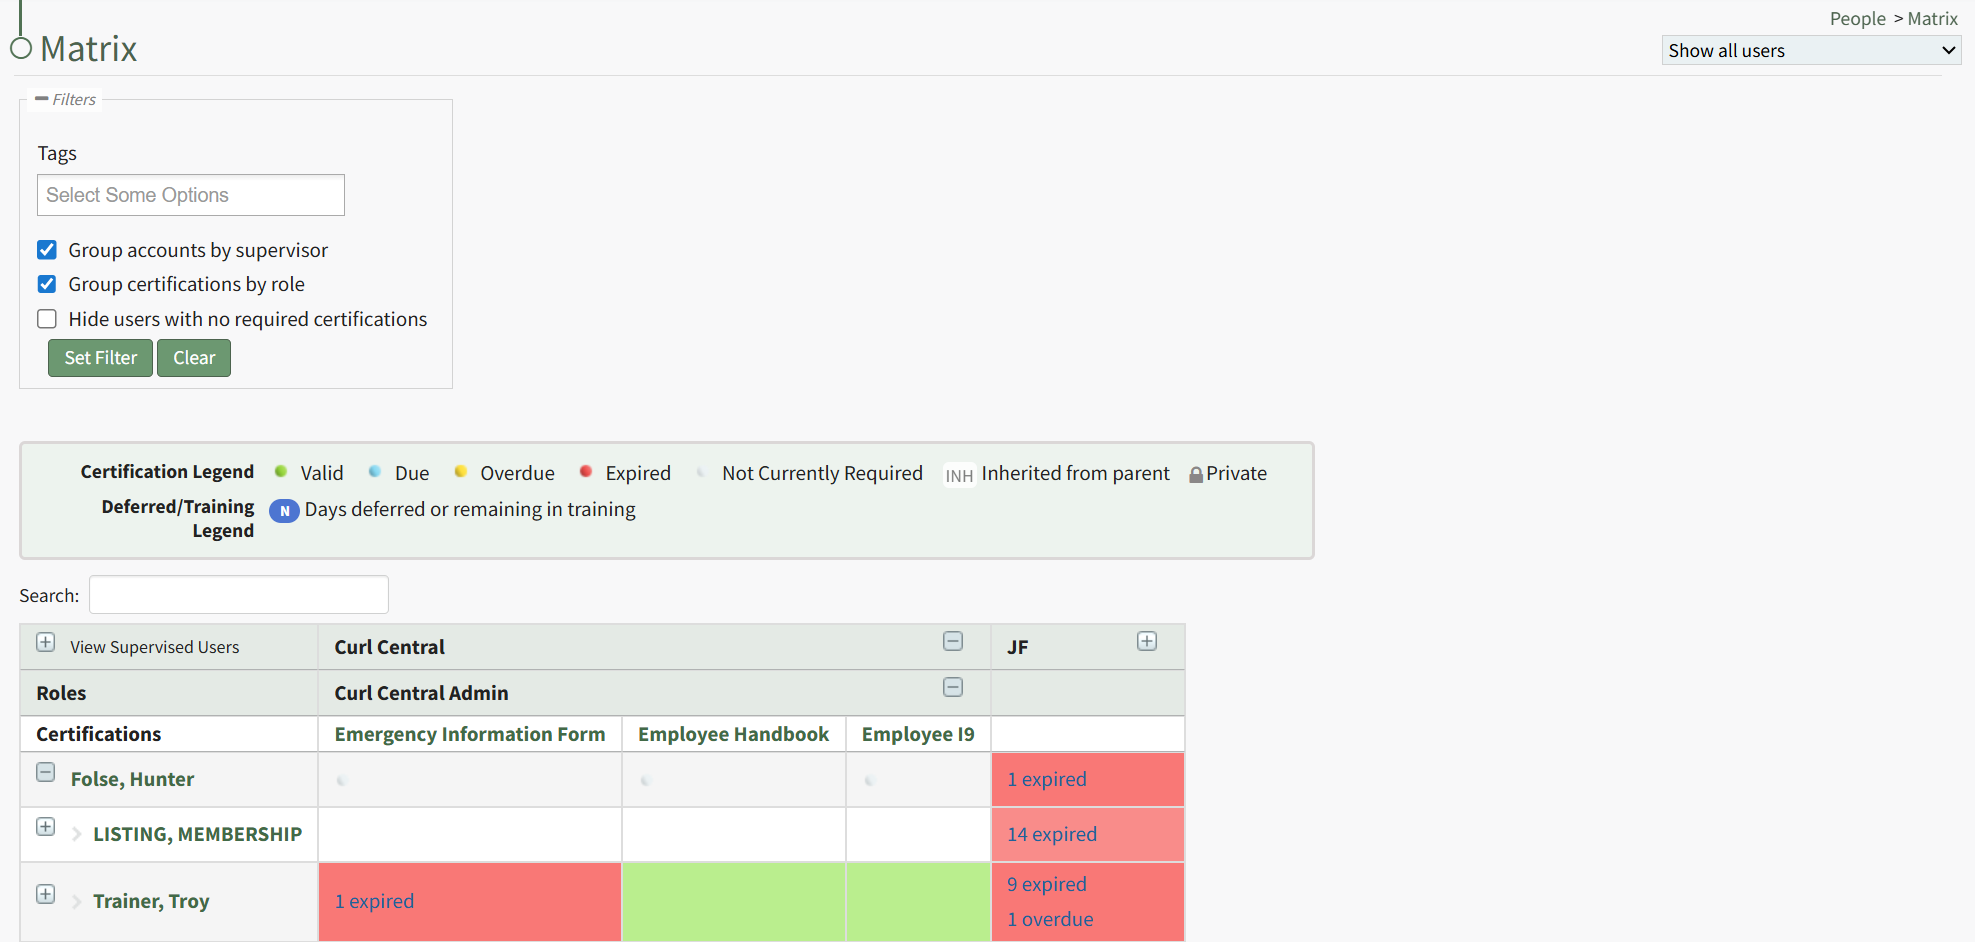
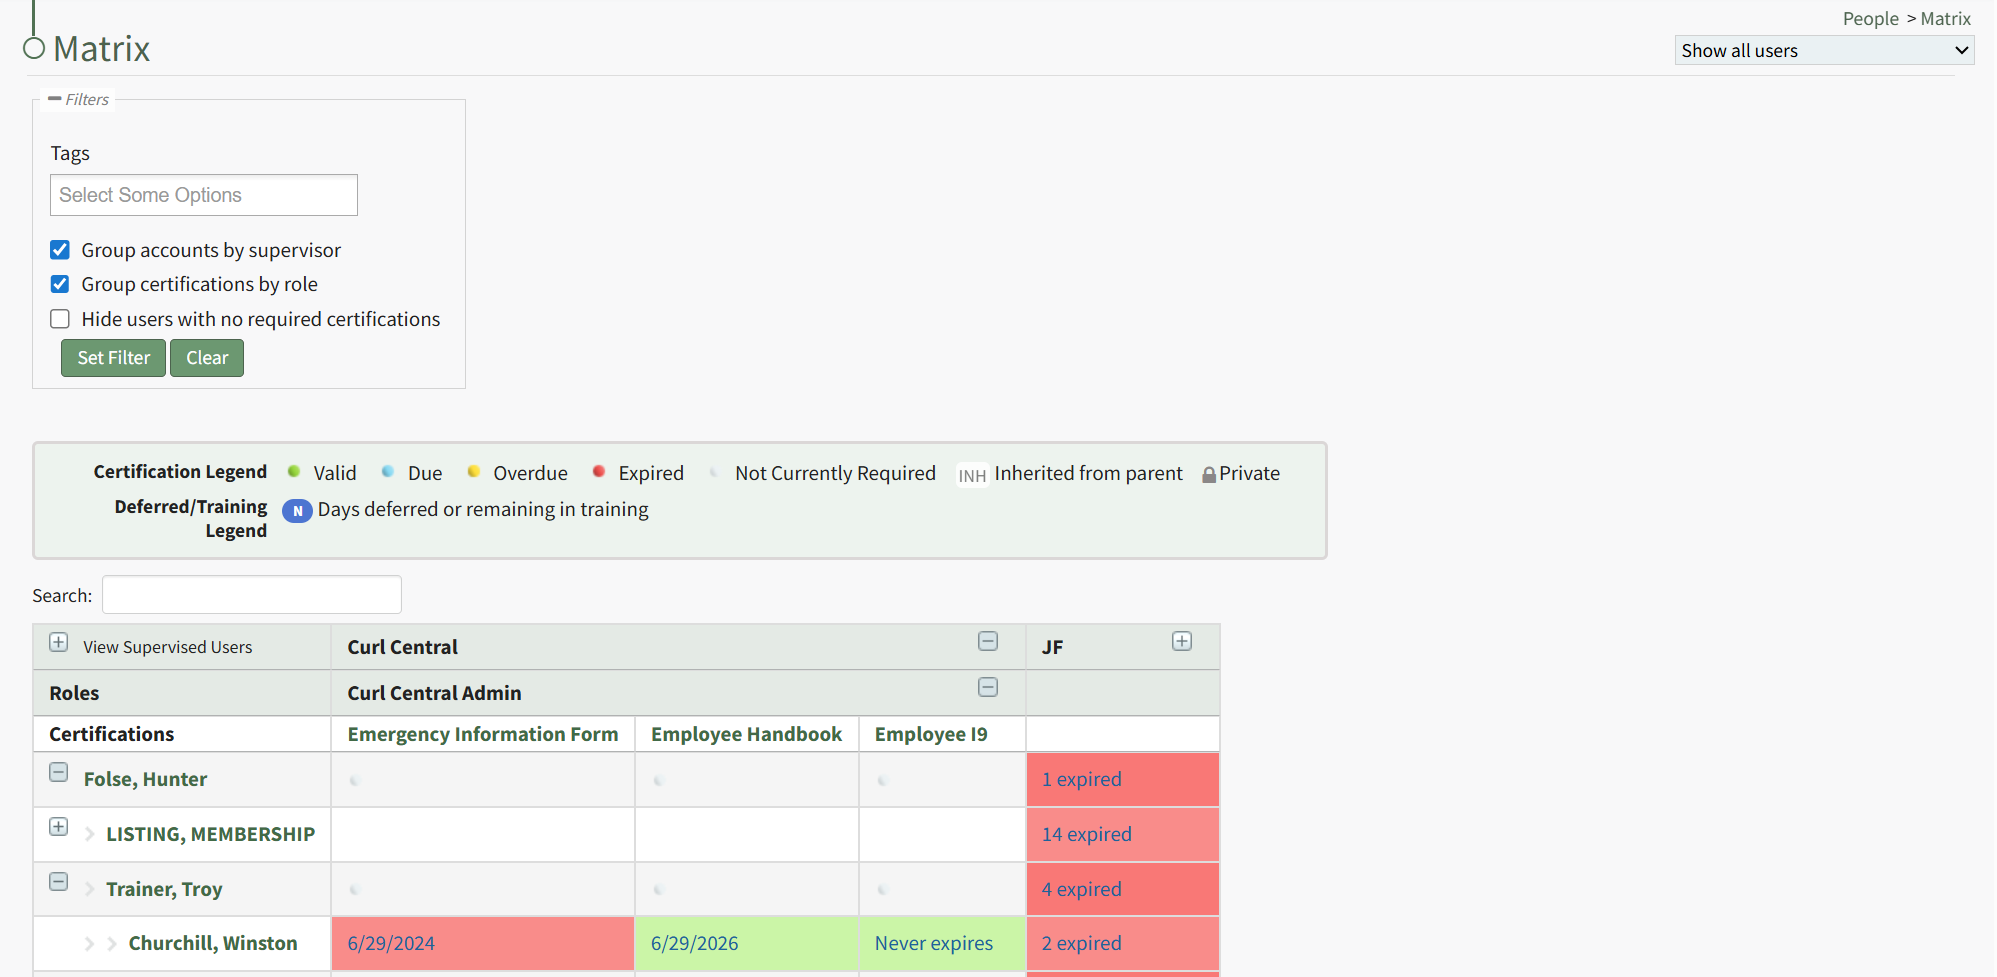
Understanding the Matrix Table
The far-left column lists users names, first in Supervisor View then alphabetical order (if the “Group account by supervisor” filter is enabled). Pressing the plus sign icon to the left of the Supervisor’s name will expand to show their supervised users.
Clicking on the name of an employee will bring a supervisor to the specified User's Page.
The first header row lists the different companies established in KAStrack. Pressing the plus sign icon to the right of the company name will expand opening a second header row that shows all certification roles within the company. Pressing the plus sign icon to the right of the certification roles will expand to show a third header row. The third header row shows all certifications associated with that Company’s certification role.
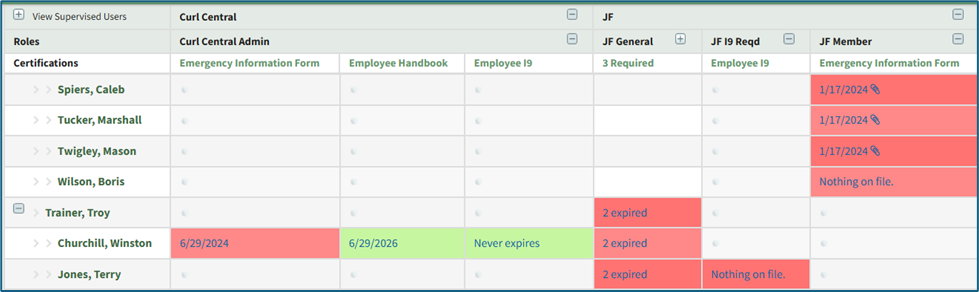
Cells underneath the certification columns are colored according to the Certification Legend.
If there is no information submitted for that Certification for the specified user, then the associated cell states “Nothing on file.” If the certification does not apply to a particular user, that cell will not have any highlighting and contain a blue oval with the letters “N/A” in white font.
The cells in the Matrix Table are clickable links. Clicking on the Certification Due Date (red, yellow, or blue cells) or the Expiration Date (green cells) opens the user's Certification Details Modal.
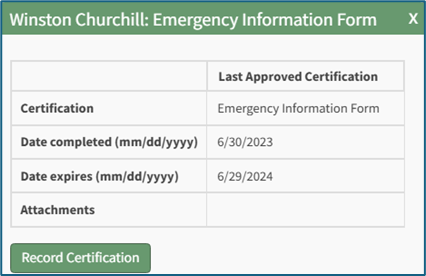
Clicking the Record Certification button on a Certification Details Modal allows users to update assigned certifications directly from the Matrix Page.
How To: Update Assigned Certification Records from the Matrix Table
To update assigned certification records directly from the Matrix Table, open the Matrix Page of the People Module from the Main Menu.
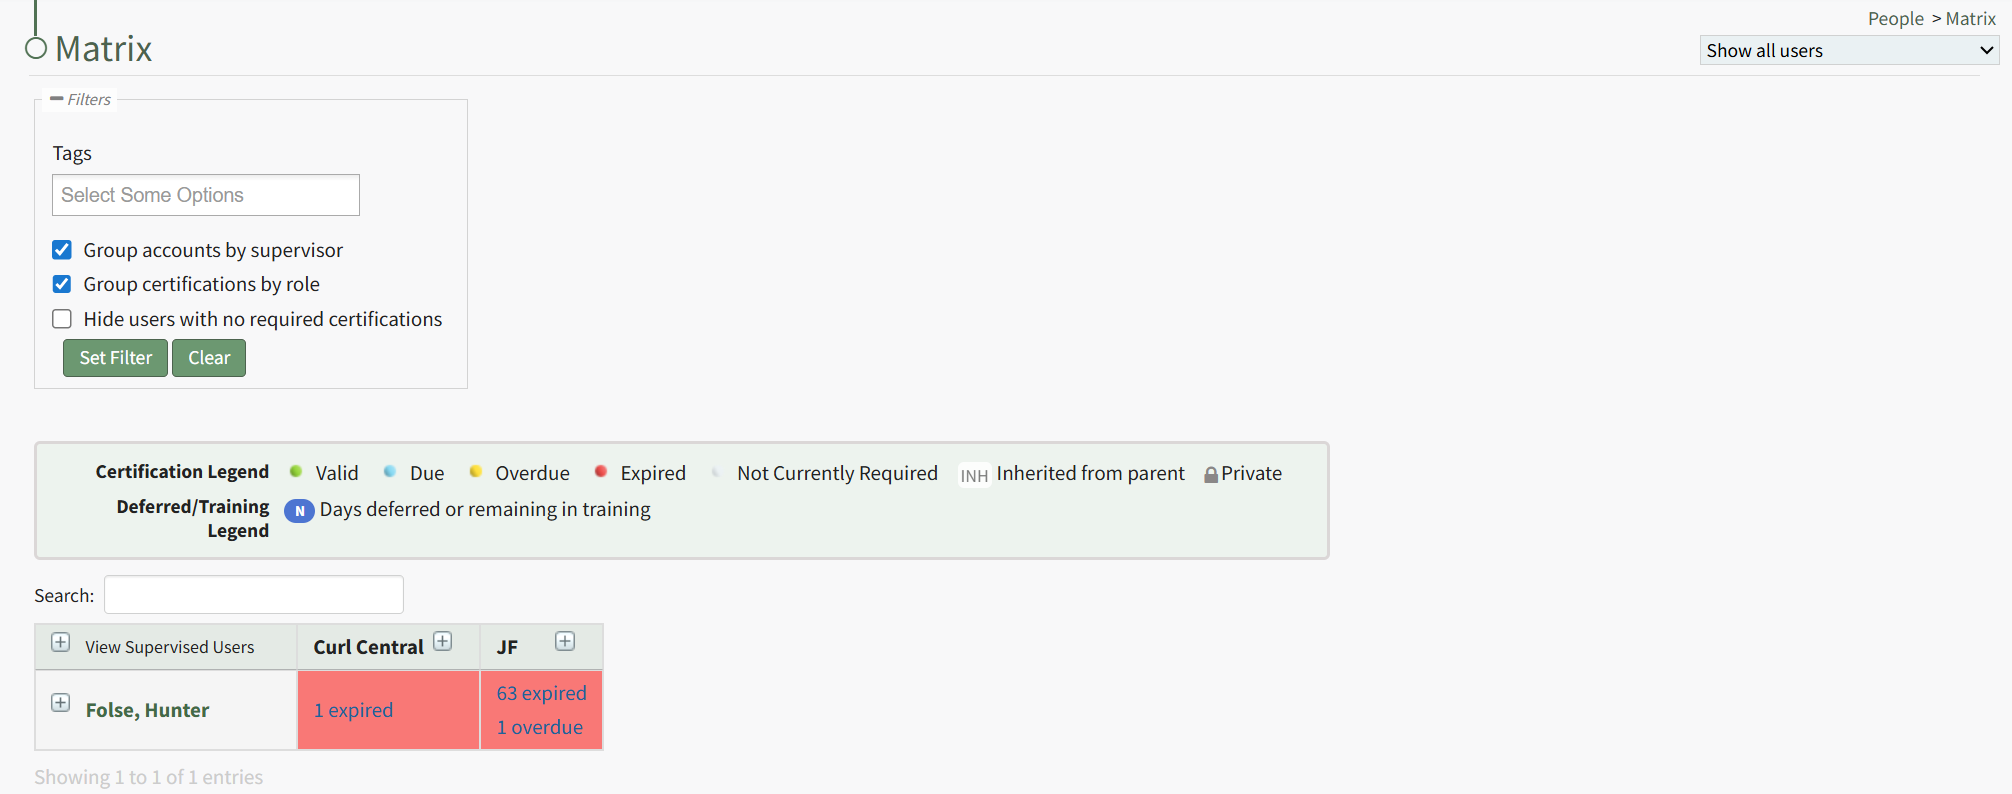
When the Matrix Page is initially opened, it is in a collapsed view. Expand the view as need to identify the relevant user and the specific certifications whose records you wish to update. The date or statement in each cell is a clickable link that when selected opens the specific user's Certification Details Modal.
The date or statement in each cell is a clickable link that when selected opens the specific user's Certification Details Modal.
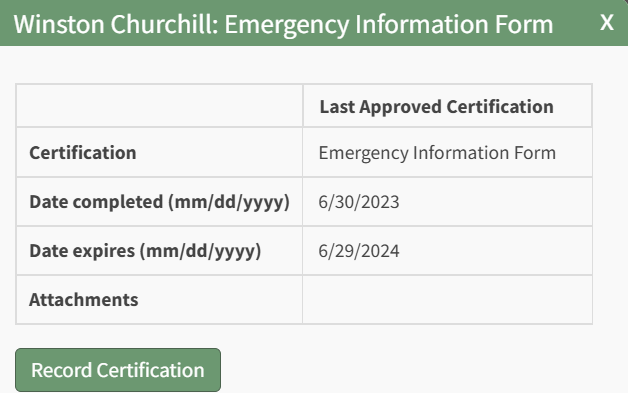
The modal lists the certification name, the date completed, the date the certification expires, and any file attachment. Click the "Record Certification" button to update the assigned certification. This opens the Submit Certifications Tab on the specific individual's User Page.
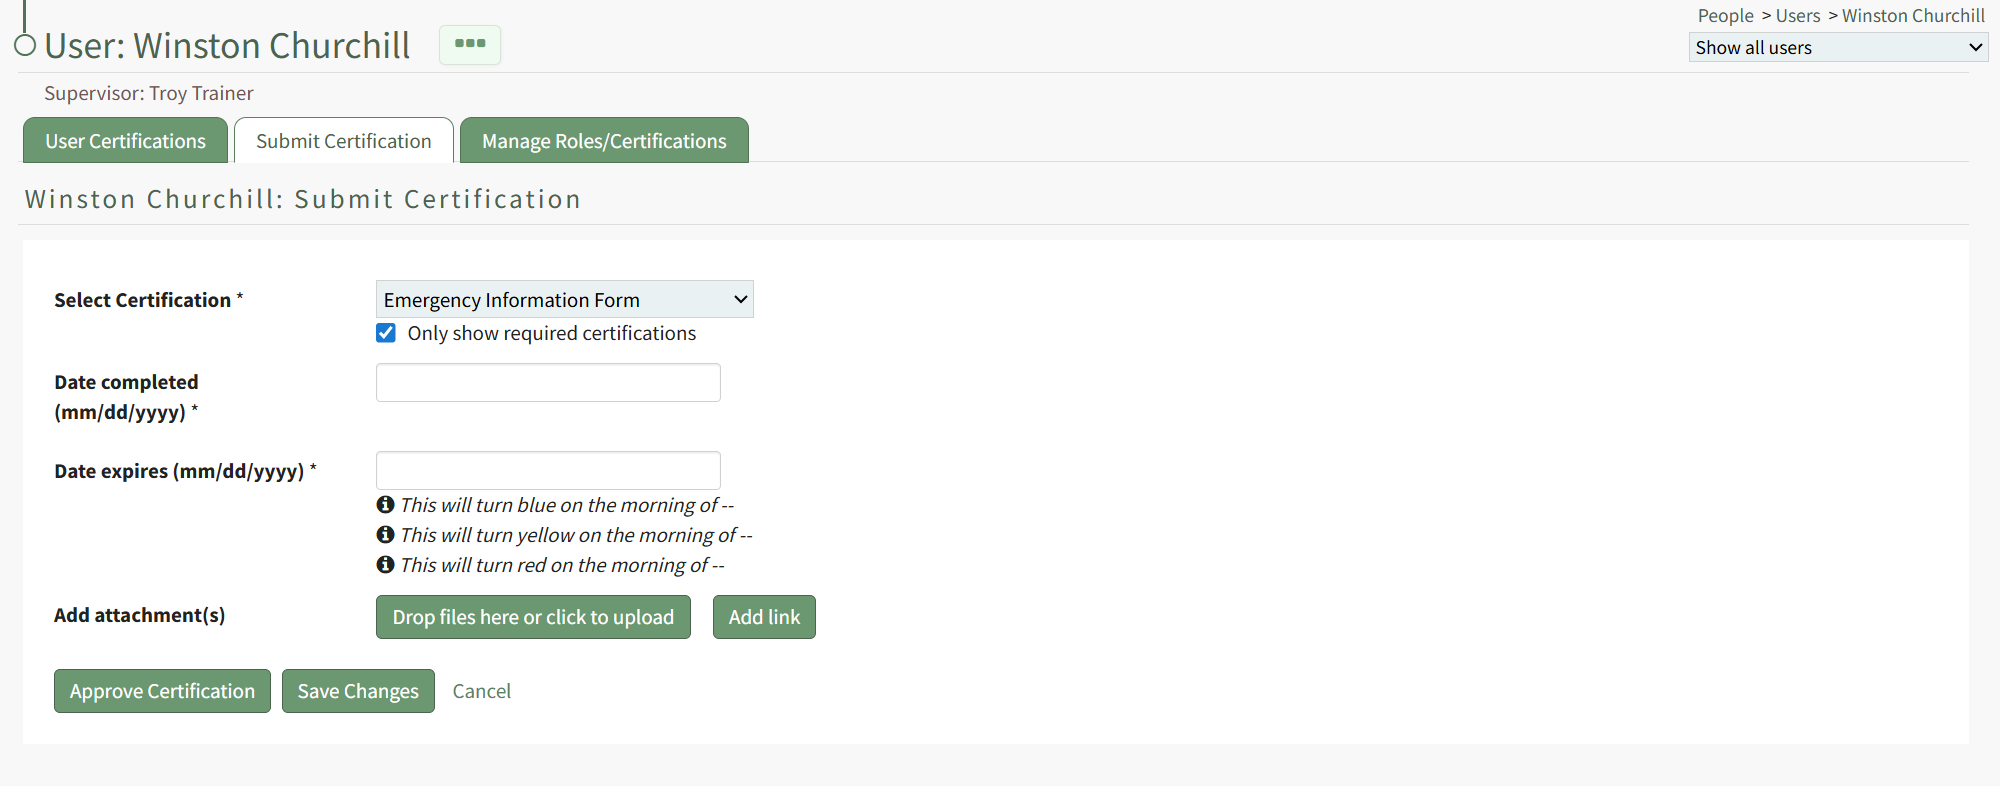
The certification being recorded is already indicated on the tab. Both the date completed and the date of expiration are required fields.
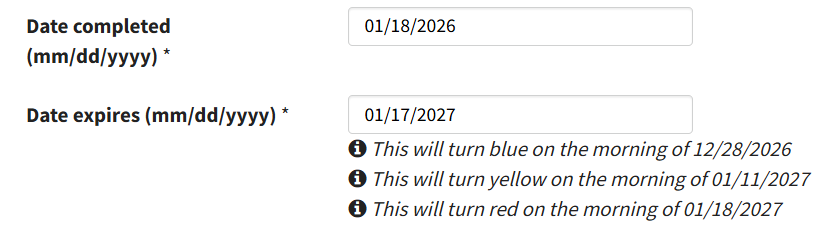
After inputting the completion date, the system fills out the date the certification expires and includes the dates the status will change from green to blue, blue to yellow, and yellow to red. (These details are determined by the specifics associated with the certification.)
Files or links can be included with the certification record.
Select the Save Changes button. If no links or files were attached, a Certification Record Confirmation Modal appears stating, "You have not included any attachments. Do you want to submit this certification without an attachment?"
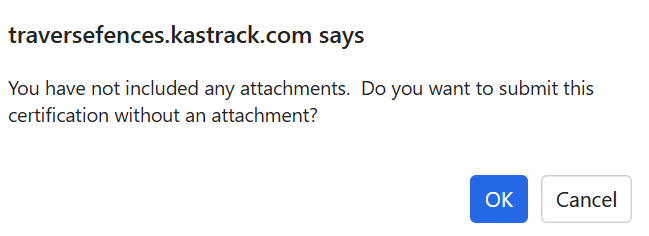
Select "OK".
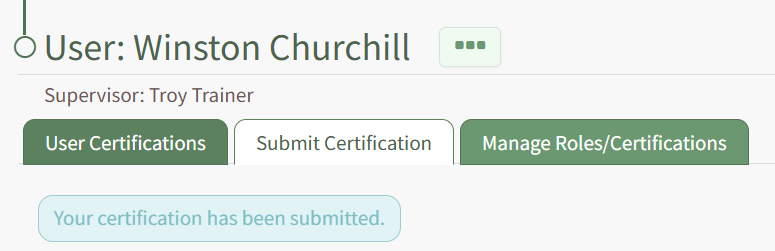
Your submission will be confirmed beneath the User Page tabs.