Import Bulk Actions
To import new actions in bulk using a .csvCSV file, go to the Actions Module Actions Home Page and hover your cursor over the page icon opening the home page context menu.
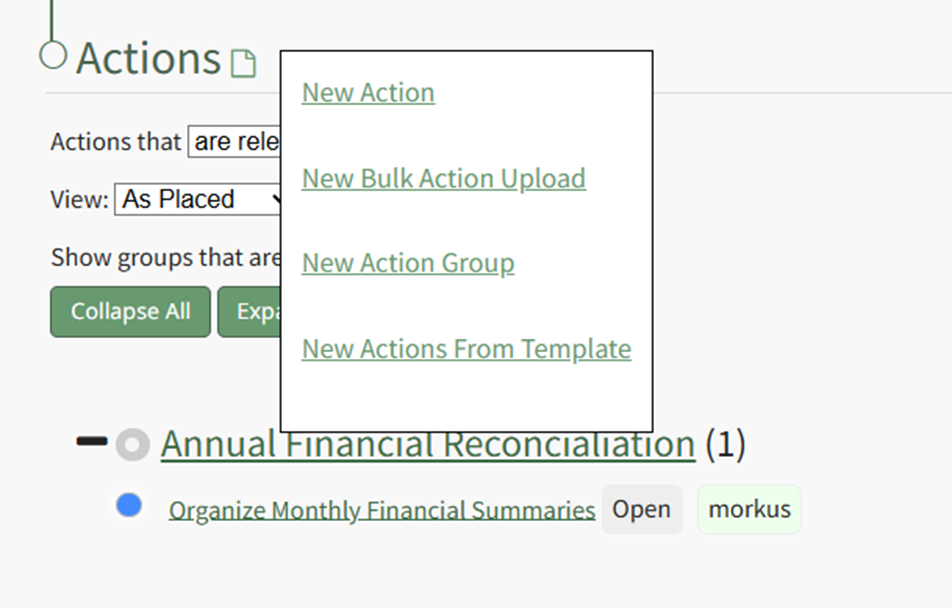
Click “New Bulk Action Upload” opening the Import Actions Page.
Clicking the “Download Template” clickable link will automatically download a CSV file to your personal device, with the fields to be filled in for each action areaction, designated by the column headers. The table below explains each of the field inputs.
Import Actions Template Field Explanations | |
Field | Explanation |
Group |
If importing actions from within a group (by clicking on the group name), this cell can be left blank because the actions will automatically be added to the group you're uploading to. |
Group Date | The action group date is flexible and can be utilized by your organization as best fit. When action groups are duplicated or created from a template, the action group date can be used as the distinguishing feature. |
Action Number | Action Numbers are used to differentiate each task in a chronological order. Actions within the same Action Group cannot have the same Action Number. You can leave the field blank. You can also input text if you wish to use the alphabet as way to categorize actions. |
Title | Input the title of the action. |
Description | Input the description for the action. |
Source | The Source field is intended to serve as an input for the source of the action. Source is a free text field, allowing you to input any desired response. Customer, Internal Request, a user’s name, role or department are all examples of potential Source field categories. |
Due Date | Input the date the action must be completed by.
|
Workflow | Select a default workflow (basic, basic with approval, complex) or a customized workflow specific to your organization. How To: Create New Workflow{{@619}} |
Status | The status of the action is based on the workflow selected. Basic with Approval: Open, Pending Approval, Actions can be imported |
Date Complete | This field should be blank unless the task is already complete. If the action is already completed, include the completion date here. |
Warn (Days) | Input a numerical value for the number of days ahead of the due date you want users to get a system email alert reminder of the outstanding action (converting from blue to yellow status). |
Assigned To | Input the users (by username or First and Last Name) that |
Action Approvers | Input the users (by username or First and Last Name) that can approve an action. Action Approvers cannot be assigned to roles or access levels. Multiple users can be designated as an action approver. Use a semicolon to separate individuals assigned to an action. |
Interested Parties | Input the users (by username or First and Last Name) or Certification Roles that are identified as Interested Parties. Multiple users or roles can be designated as an Identified Party. Use a semicolon to separate users/roles. |
Action Response | The information input into the Action Response field will add a comment to the action task when imported, prefaced with “The following response was imported.” |
Before importing your bulk actions, save the file as a UTF 8.

Select the “Choose Files” button and select the saved UTF 8 CSV file to be imported.
Click the “Next Step >” button and confirm that your column headers imported correctly match the new action form fields and complete the import.