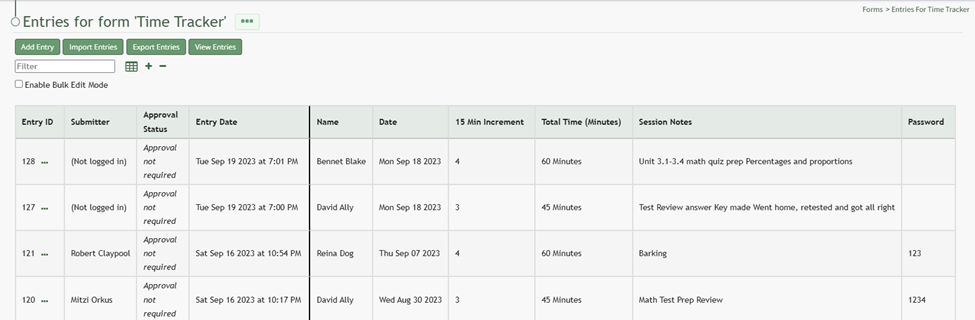
Manage Form Entries Page
The Manage Entries Page is utilized to add, edit, import, and export form entries. Bulk edits can be enabled on this page for efficiency by selecting the Enable Bulk Edit Mode checkbox below the filter.
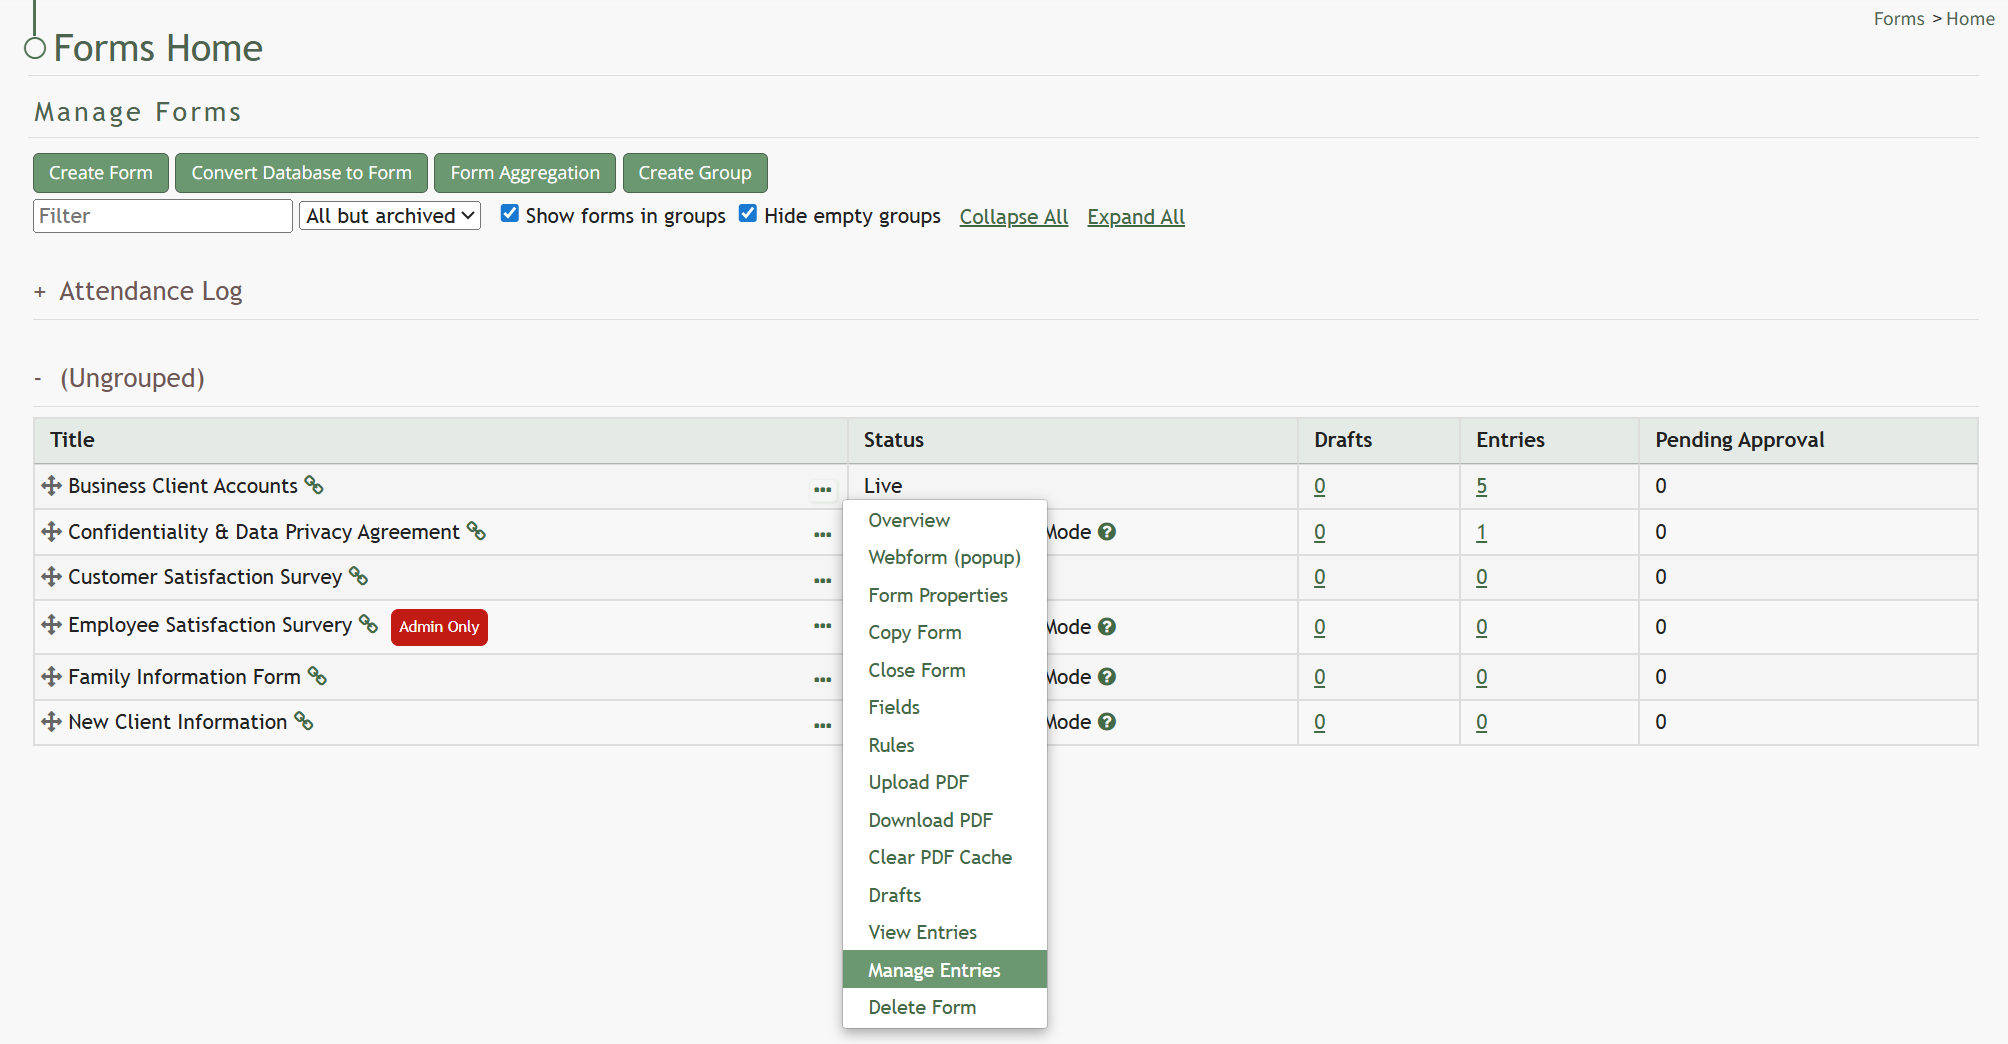
You can access a form's Manage Entries Page by opening the Forms Module Home Page and clicking the three-dot icon to the right of a form name. Selecting Manage Entries from the Forms Table Context Menu will open the specified form's Manage Entries Page.
There are three icons on the Manage Entries Page. Each icon is explained in the table below.
Manage Entries Page Icon Explanations Table | |
Icon | Explanation |
| The spreadsheet icon converts the table into a datatables table format. |
| The plus sign icon expands all form columns, showing all information collected by the form that might have be truncated because of space limitations. Individual entry rows can expand / collapse by selecting the clickable Less/More links in a cell. |
| The minus sign collapses all form columns, reverting back to truncated formatting. Individual entry rows can expand / collapse by selecting the clickable Less/More links in a cell. |


The three-dot icon to the right of the page header opens the Manage Entries Page Context Menu. This options on the context menu are explained in the table below.

Form Entry Context Menu Explanations | |||||||||
Options | Explanation | ||||||||
View Entry | Selecting “View Entry” from the Forms Entries Table context menu will open the View Forms Entry Modal, showing all of the form field inputs for a specific entry. You can select the “Edit” button from this modal to open the Edit Database Modal and make any desired changes. | ||||||||
View Single Entry in Reports | Selecting “View Single Entry In Reports” from the Form Entries Table context menu will open the single entry in the Reports Module with a table listing all fields and the inputs associated with the specific entry. | ||||||||
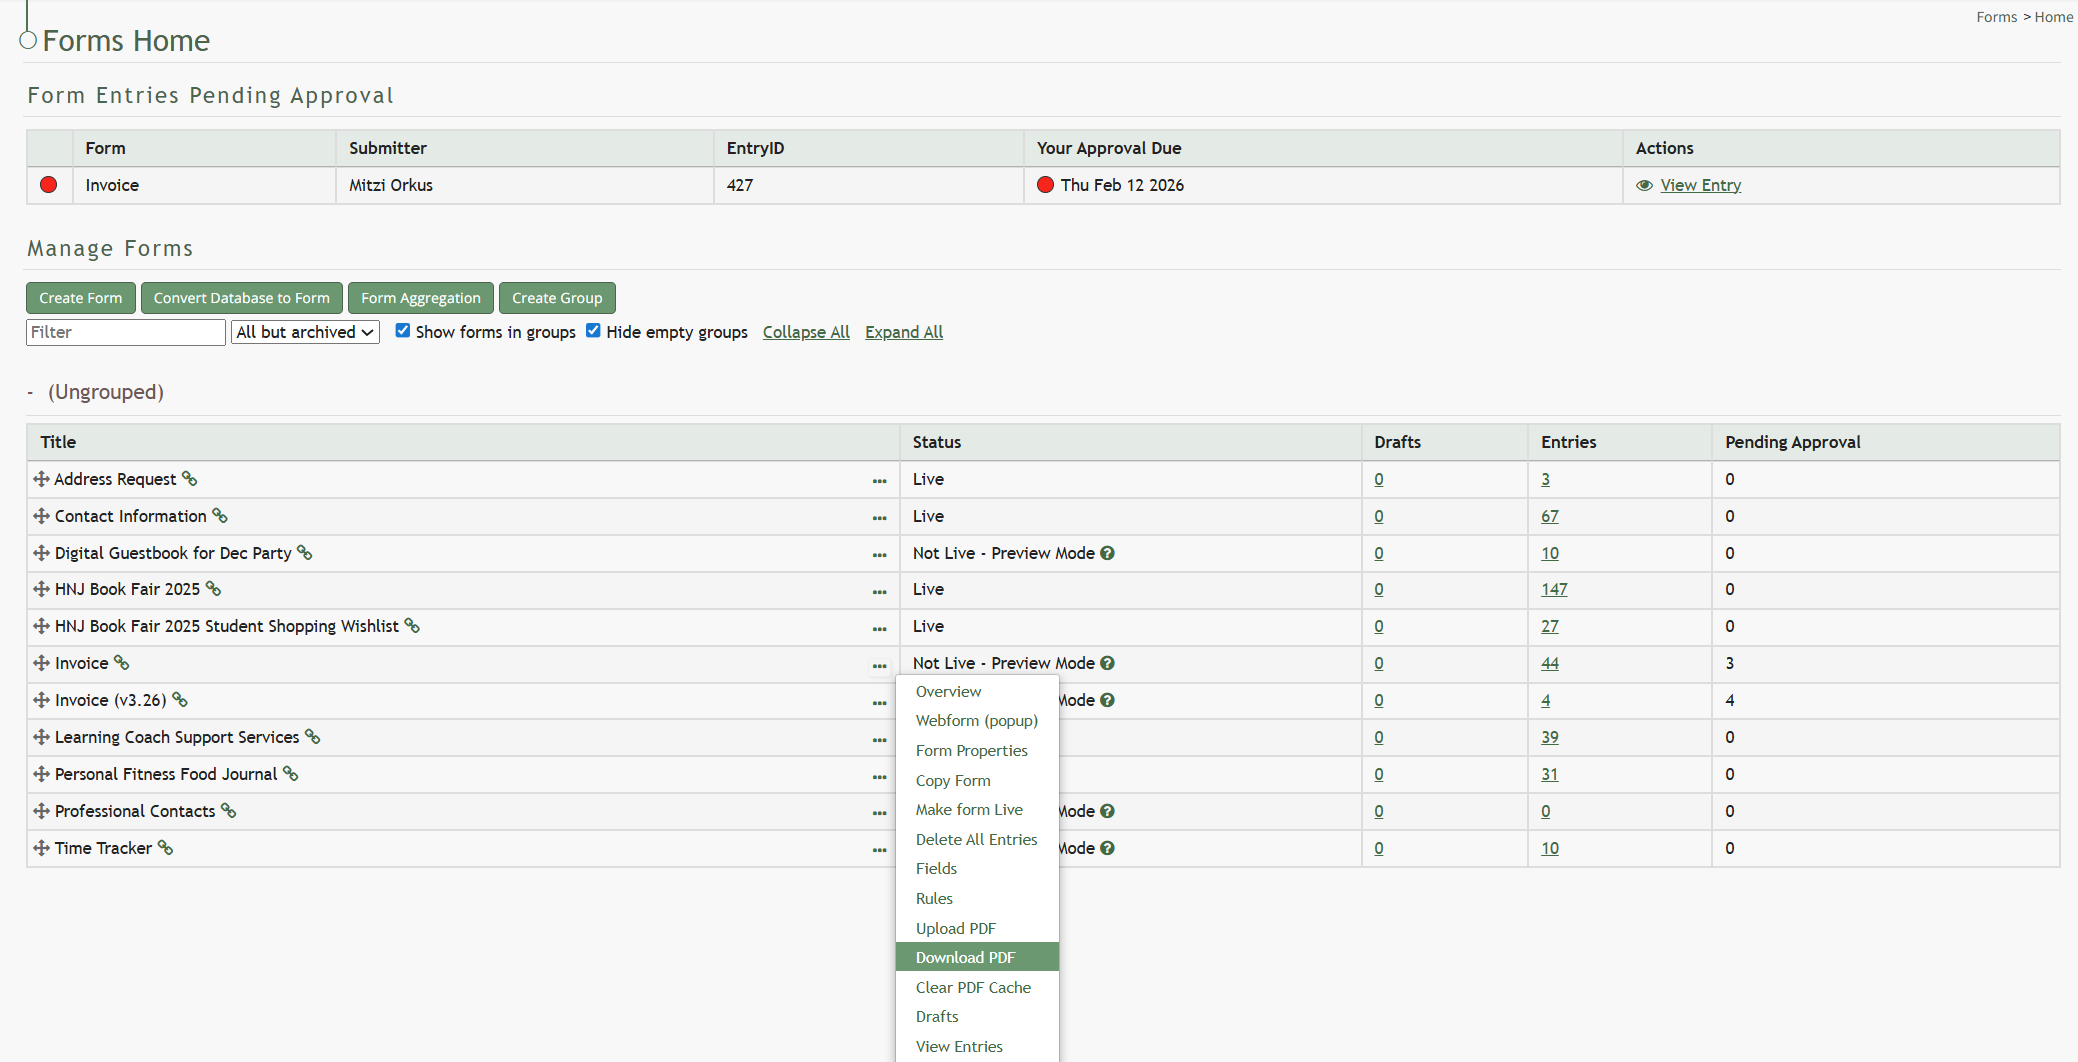
Download PDF | Selecting “Download PDF” from the context menu will download the PDF that have been associated with the form. How To: Download a PDF FormWhile this option will show on the context menu, you can only download a PDF if a PDF has been associated with the specific form selected. To download a specific form PDF, go to the Home Page of the Forms Module and click the three-dot icon to the right of the Form Title opening the Form Table context menu.
Select “Download PDF” and the form pdf will automatically be downloaded to your personal device.
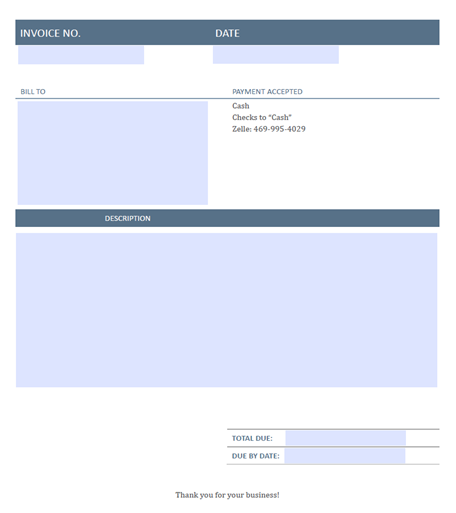
The download will show all form fields without any entry information being input. | ||||||||
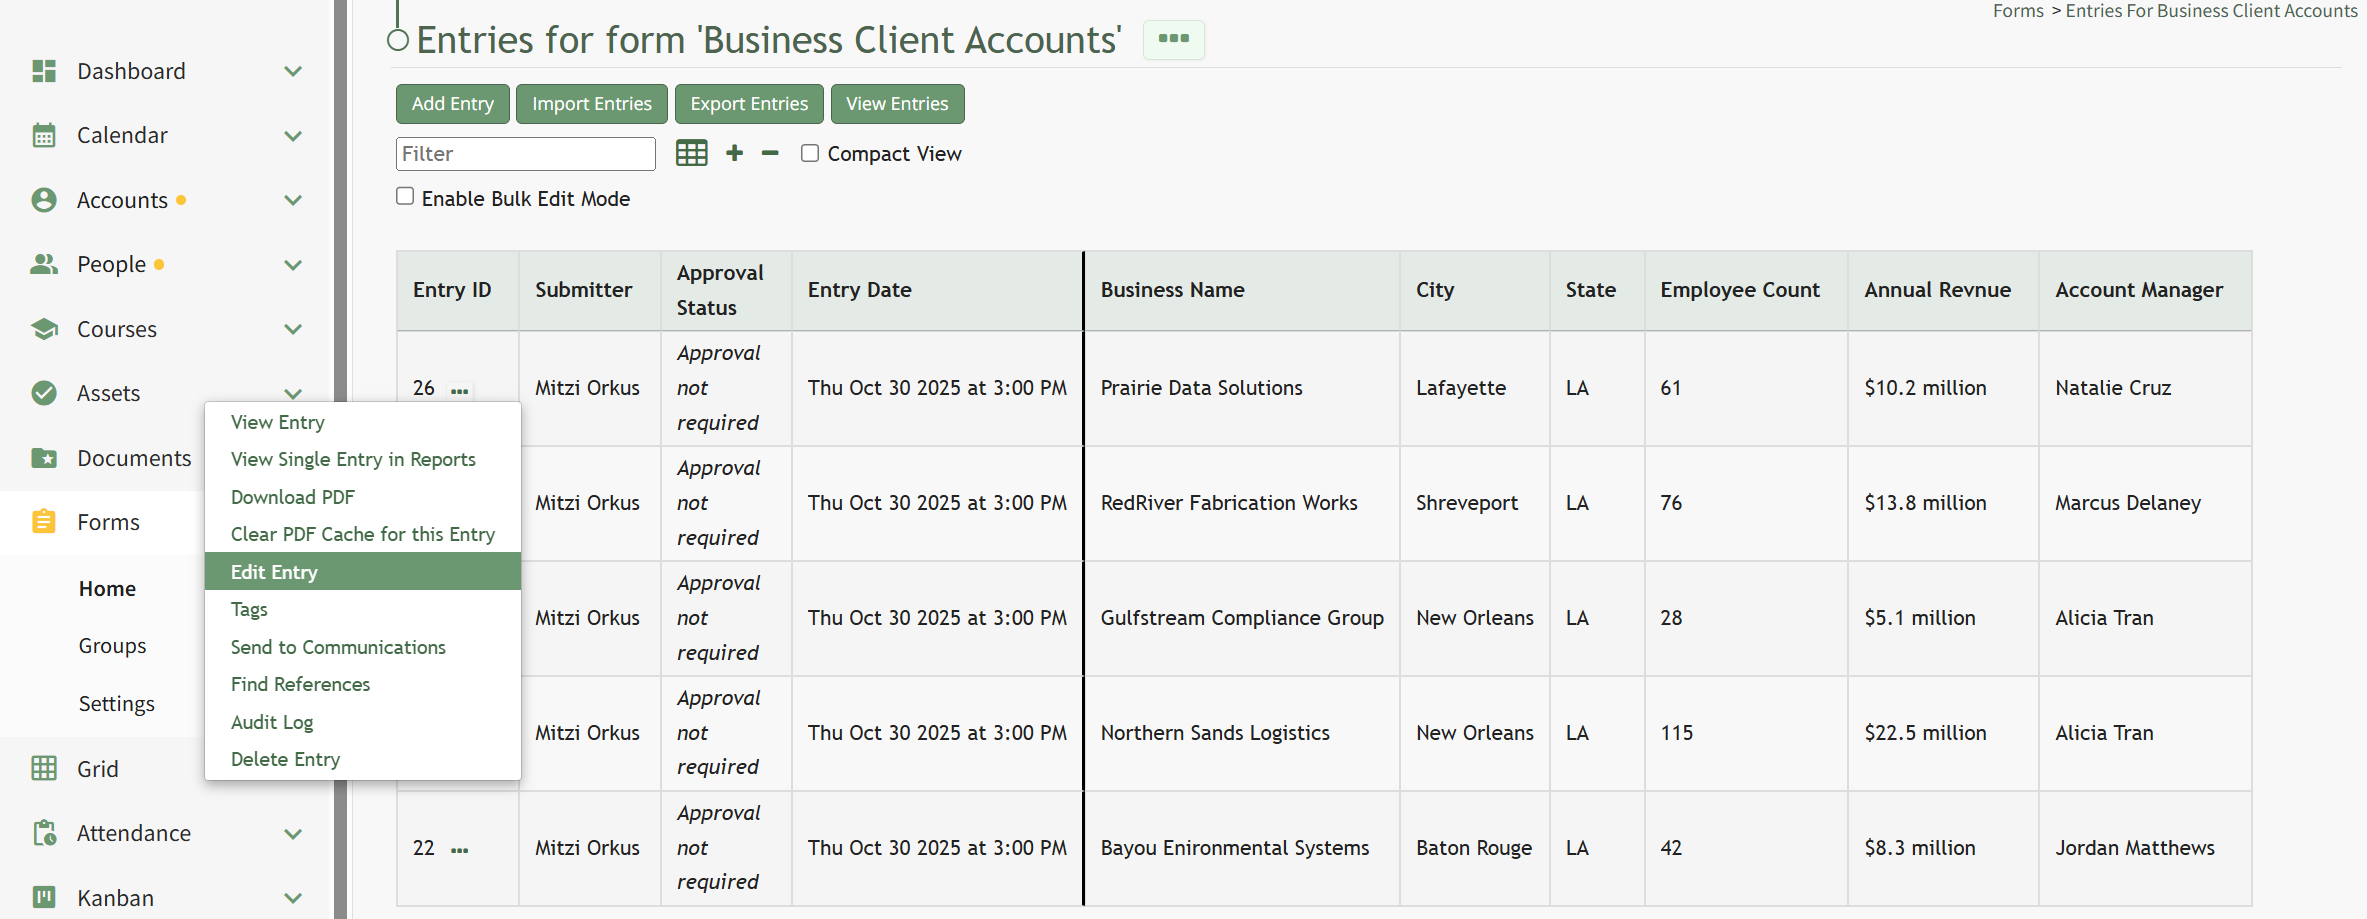
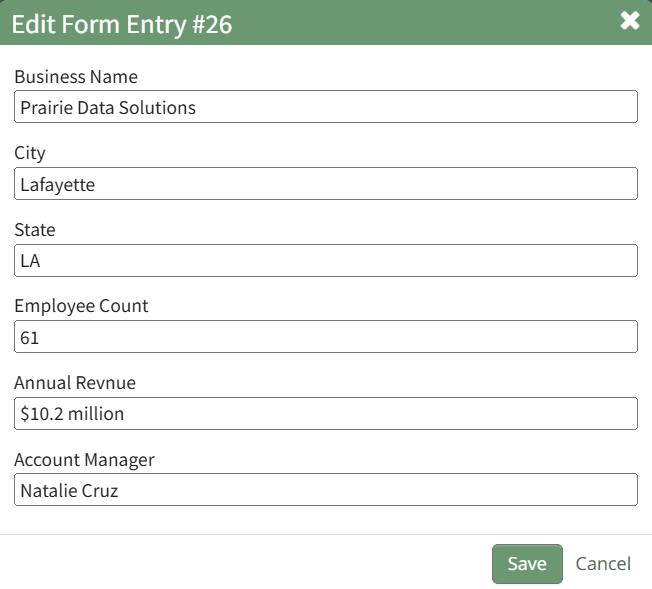
Edit Entry | Selecting “Edit Entry” from the Forms Entries Table context menu will open the Edit Form Entry Modal where an individual can edit any entry inputs. How To: Edit a Form EntryTo edit a form entry, go to the Home Page of the Forms Module and click the three-dot icon to the right of the form that you wish to edit an entry in. This opens the Form’s context menu. Select “Manage Entries” from the context menu opening the Entries for (FORM NAME) Page.
To the right of every Entry ID is a three-dot icon. Click the three-dot icon for the entry you wish to edit opening the Forms Entry Context Menu. Select “Edit Entry”.
Selecting “Edit Entry” from the Forms Entry Table opens the Edit Form Entry Modal.
Make changes as desired to edit the entry and select the “Save” button. Your edits will now show in the Forms Entry Table. | ||||||||
Tags | Selecting “Tags” from the Forms Entries Table context menu will open the Forms Entry Tags Modal where an individual can add open, permissive, and restrictive tags to the forms entry. How To: Create a New Tag from an Entity in Another ModuleTo create a new tag while creating or editing a new entity in a module other than tags, type in the desired new tag name in the tag field for the entity. For aid in visibility, emojis can be used in the tag name.
Press “Enter” after typing in the new tag name.
Finish creating / editing the entity as desired. After saving your changes to the entity, the Tag will be created. By default, the new Tag will have Open behavior, and be assigned the “uncategorized” category. To make changes to these settings, go to the Manage Page of the Tags Module.
The newly created tag will be available on the Tags List on the Tags Tab. Click the vertical dot icon on the far right opening the tag context menu. Select “Edit” opening the Edit Tag Modal.
Alter the Tag Title, Category and Behavior as desired. How To: Edit a TagTo edit a tag, go to the Manage Page in Tags Module. Select the Tags Tab.
Click the vertical three dot menu to the far right of the tag you wish to edit. Select “Edit” from the context menu opening the Edit Tag Modal.
Alter the title, category, and behavior as desired. If the tag is permissive or restrictive, you can alter who it is visible to. Select the “Update Tag” button to save the changes.
A confirmation modal appears at the bottom of the Manage Page, indicating the tag was successfully updated. Select the “Update Tag” button and your changes will be saved. | ||||||||
Send to Communications | Selecting “Send to Communications” from the Forms Entries Table context menu will open the Send Communications Page in the Communications Module. The form entry will be attached to a communications email with options to store the entry in documents, require acknowledgement, and require acknowledgement at Login. | ||||||||
Audit Log | Selecting “Audit Log” from the Forms Entries Table context menu will open the read only Audit Log that shows the date and time a user completed an action in regard to a form's entry. | ||||||||
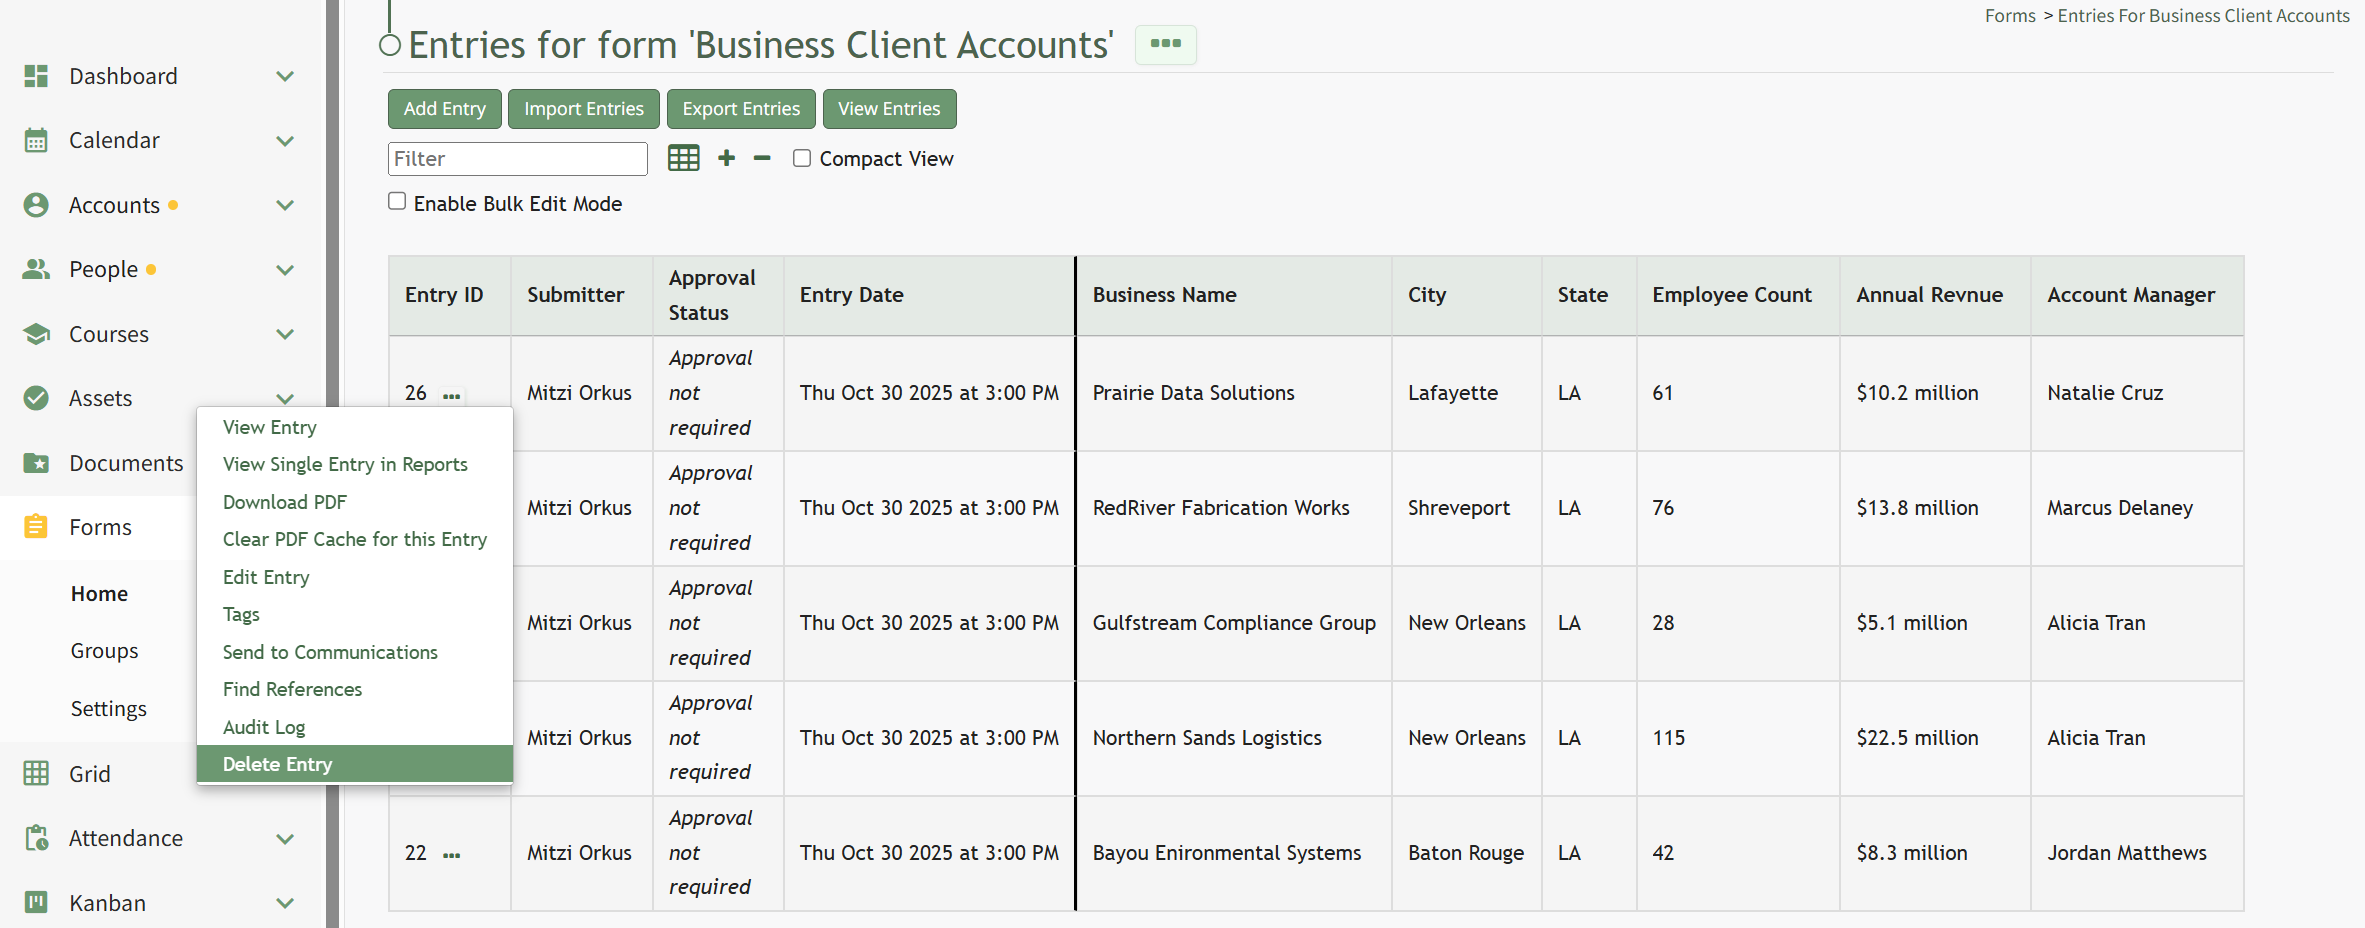
Delete Entry | Selecting “Delete Entry” from the Forms Entries Table context menu will open the Delete Forms Entry Confirmation Modal that states, “Are you sure you want to delete this Form Entry?” How To: Delete a Form EntryTo delete a form entry, go to the Home Page of the Forms Module and click the three-dot icon to the right of the form that you wish to delete an entry in. This opens the Form’s context menu. Select “Manage Entries” from the context menu opening the Entries for (FORM NAME) Page.
To the right of every Entry ID is a three-dot icon. Click the three-dot icon to the right of the entry you wish to delete opening the Forms Entry context menu. Select “Delete Entry”.
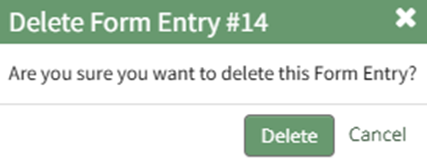
This opens the Delete Form Entry Confirmation Modal that states, “Are you sure you want to delete this Form Entry?”
Select “Delete” to confirm deletion of the form entry. A confirmation modal stating, “This form entry has been deleted,” appears.
The form entry no longer shows on the Manage Entries Page. | ||||||||


Notes Regarding the Downloadable Template for Uploading CSV Files
The first row of the CSV file is for each of the form fields. If you download a CSV Template from the Upload CSV Modal, two additional column headers will show that are not form fields: Entry ID and Modify Existing Entry.
If you are importing form entries and no entries have been added to the form yet, leave these columns blank in your upload.
If form entries already exist in the database, the Entry ID column will contain the unique system generated ID for each pre-existing database entry. Leave this column blank if the row is to be imported as a new entry. The second column, Modify Existing Entry, should have a “Y” input if the existing entry is being modified and an “N” input if it has not been modified. Leave this column blank if the entry is new.