Attendance Log: All Entries Page
The All Entries Page displays a table that shows all current and historical entries in the Attendance Log. The columns displayed in the All Entries Table were selected when you created the attendance log and can be edited if desired.
How To: Edit the Columns on the All Entries Page Table
To edit the columns that show on the All Entries Table, open the attendance log you want to make changes in. You can access an attendance log on the Main Menu (if selected to be shown there) or from the Home Page of the Attendance Module.
How To: Show an Attendance Log on the Main Menu
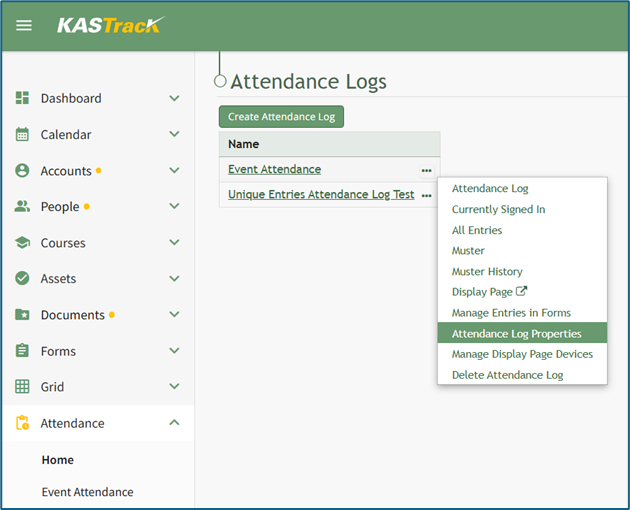
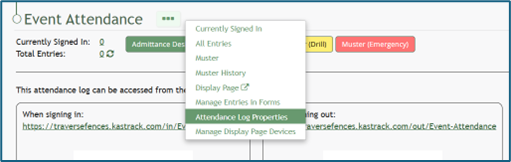
To show an attendance log on the main menu, open the attendance log and go to the Attendance Module Home Page. All available attendance logs will be visible in the table with a three-dot icon to the right of the attendance log’s name. Click the three-dot icon to open the context menu. Select “Attendance Log Properties.”
This opens the Edit Attendance Log Modal. Select the “Show In Main Menu” checkbox.
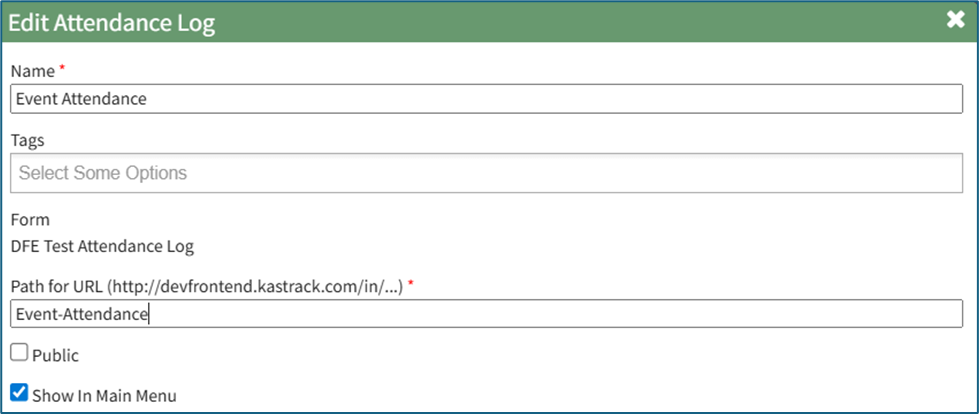
Click “Save” at the bottom of the Edit Attendance Log Modal.
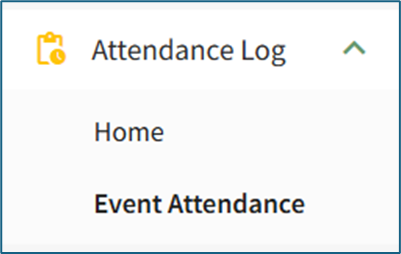
To see the attendance log as its own page in the Main Menu, refresh the page or log out and sign back in to KAStrack. The attendance log will now show as its own page in the Main Menu.
From the Home Page:
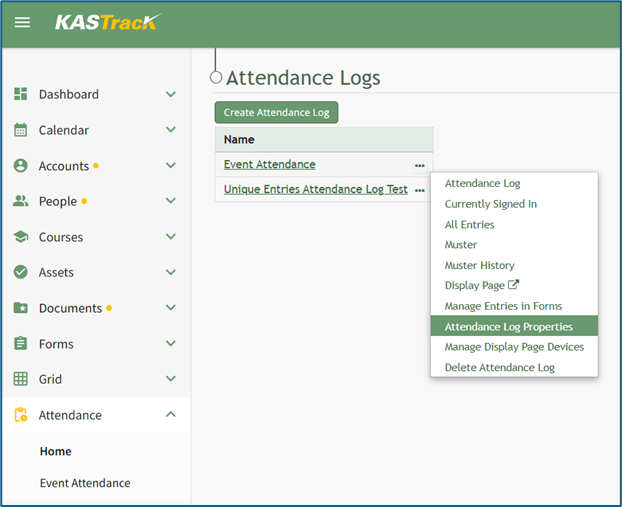
By going to the Attendance Module Home Page, all available attendance logs will be visible in the table, with a three-dot icon to the right of the attendance log’s name.
Click on the three-dot icon to the right of the attendance log’s name, which opens the context menu. Then, select “Attendance Log Properties.”
This opens the Edit Attendance Log Modal. The columns visible on the All Entries Table can be edited from the section titled Fields Related to Managing Sign Ins.
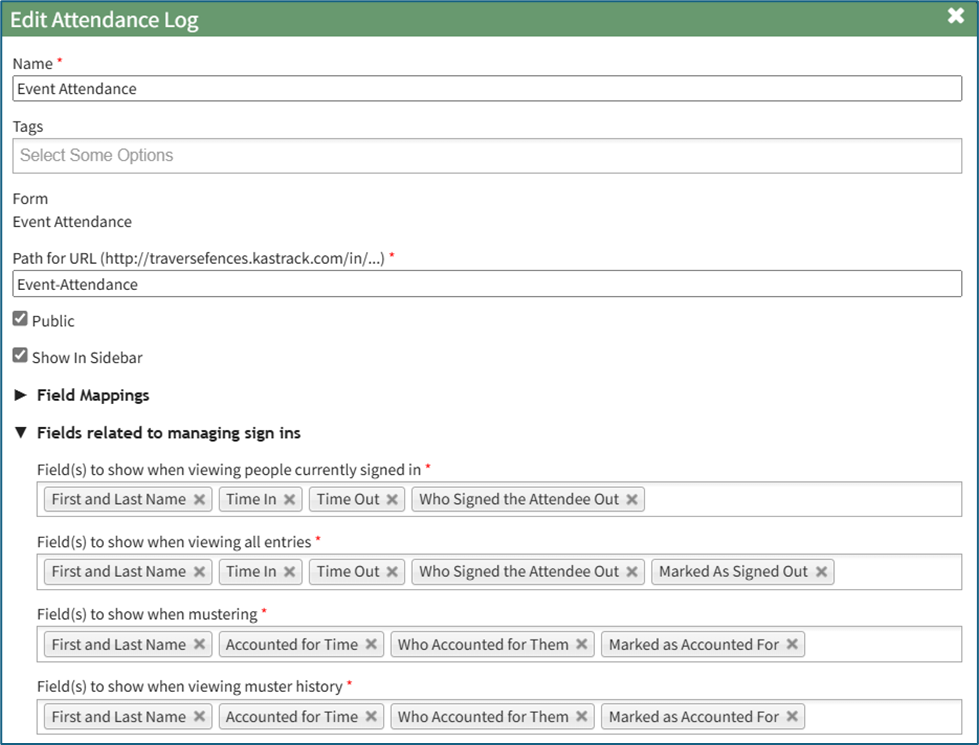
Add and remove fields as desired from the field named “Field(s) to show when viewing all entries”. The order of the fields here corresponds to the order of the columns in the All Entries Table.

Select “Save” at the bottom of the Edit Attendance Log Modal, and you can check your edits on the All Entries Page.
The three-dot icon to the right of the page header opens a context menu with options for navigating the different pages of the attendance log. WIKI LINK ATTENDANCE LOG CONTEXT MENU OPTIONS
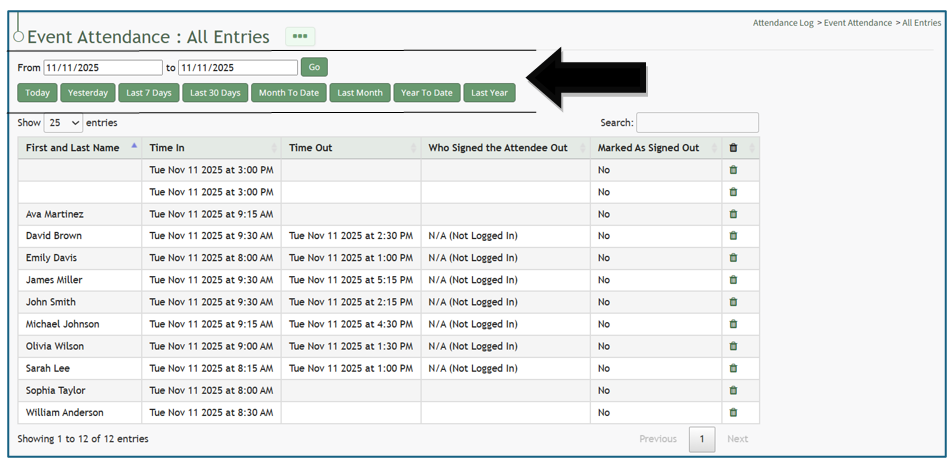

A dynamic restriction field allows the All Entries Table to pull entries relevant to a specific time period that can be input, and has buttons to pull entries for today, yesterday, the last 7 days, last 30 days, month to date, last month, year to date, and last year. There is also a search filter that allows you to search for and find entries as needed.
Individual entries can be deleted from the All Entries Page.
How To: Delete an Individual Attendance Log Entry
An entry that was submitted directly in the Attendance Module cannot be deleted in the Manage Entries Page of the Forms Module. If you attempt to do so, a Delete Form Entry Modal will direct you to delete the entry directly from the Attendance Log. 
To delete an individual attendance log entry, open the attendance log you wish to delete the entry in by going to the Home Page of the Attendance Module and clicking the three-dot icon to the right of the attendance log’s name, opening the context menu.
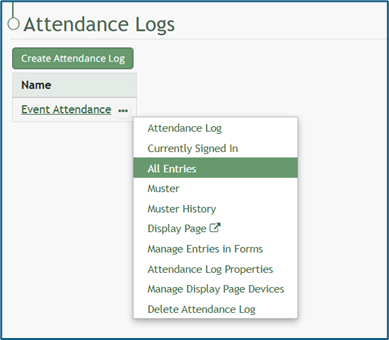
Select “All Entries”, opening the attendance log’s All Entries Page.
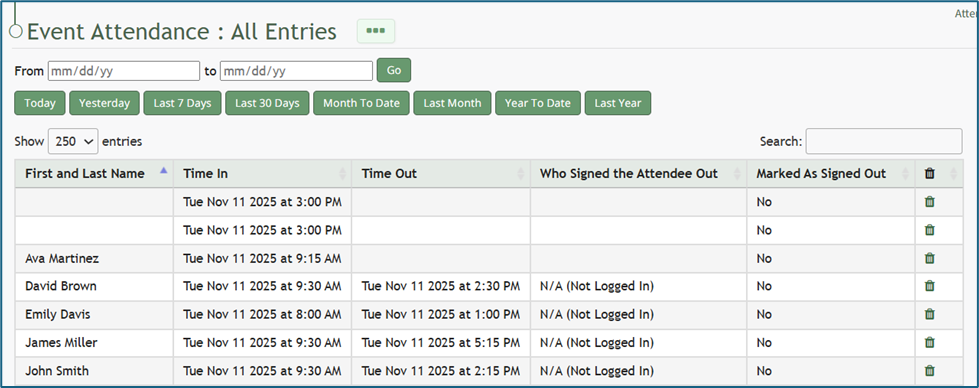
To delete an individual entry, select the trash can icon for the correct row in the far-right column of the All Entries Table. This opens a deletion confirmation modal which states, “Are you sure you wish to delete this entry?”
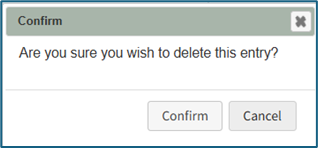
Select “Confirm” and the individual entry will be deleted from the attendance log.