Assets Settings Page: Task Template Tab
A Task Template is a user generated tool used to aid bulk task schedule creation. Task templates are created from the task schedule of a pre-existing asset.
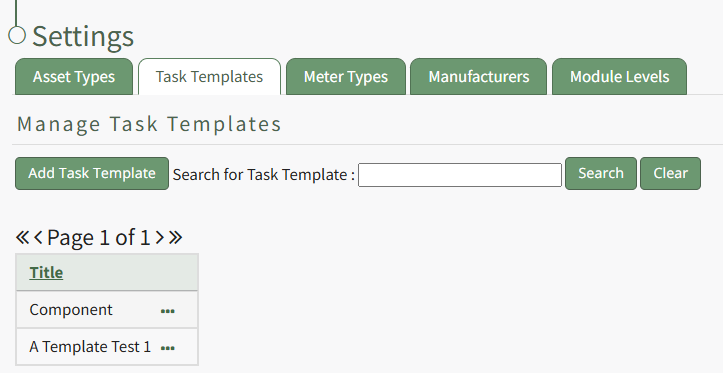
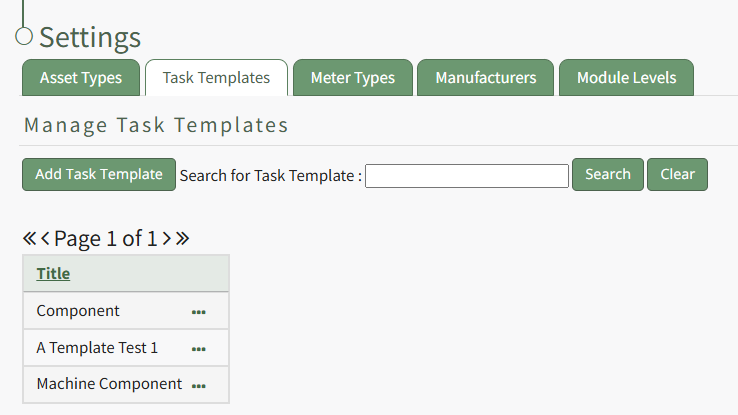
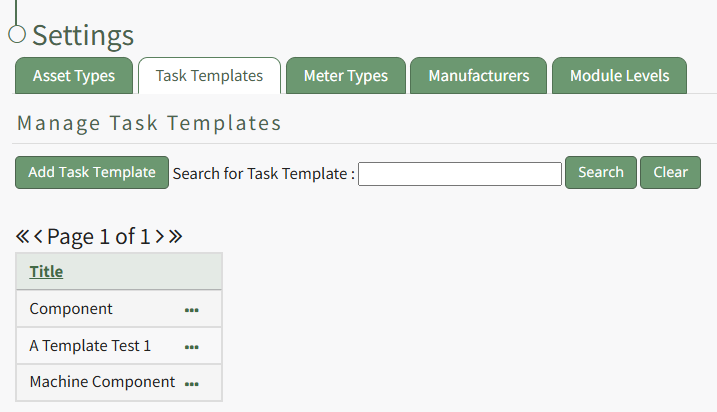
The Task Template Tab on the Settings Page shows all existing templates in tabular format. A user can search for different task templates through the filter. New task templates are created through the Add Task Template button on this tab.
How To: Create a New Task Schedule Template
To create a new task schedule template, open the Task Template Tab on the Settings Page in the Assets Module.
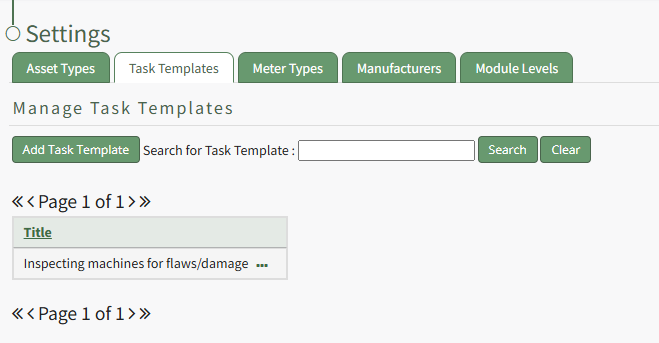
Click the “Add Task Template” button, opening the New Task Template modal.
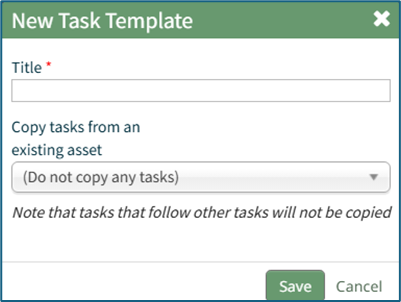
Input the desired Title for the new task template.
Select which asset or component whose task schedule you want to create the template from.
Click “Save” and the new task template will show in the Task Template Table.
Tasks that follow other tasks will not be copied into the Task Template.

Existing task templates are shown by title in the Task Template Table on this tab.
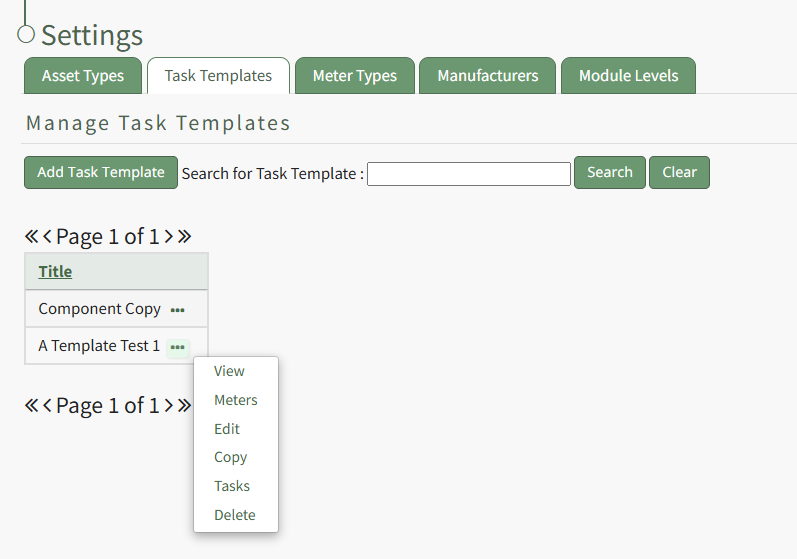
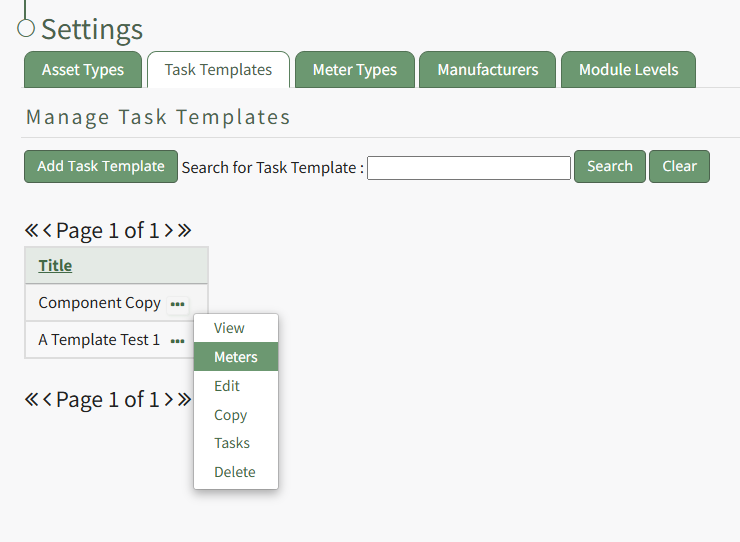
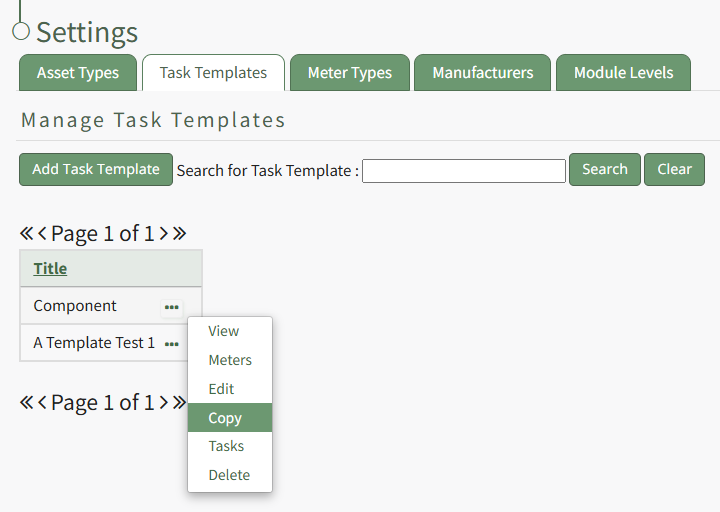
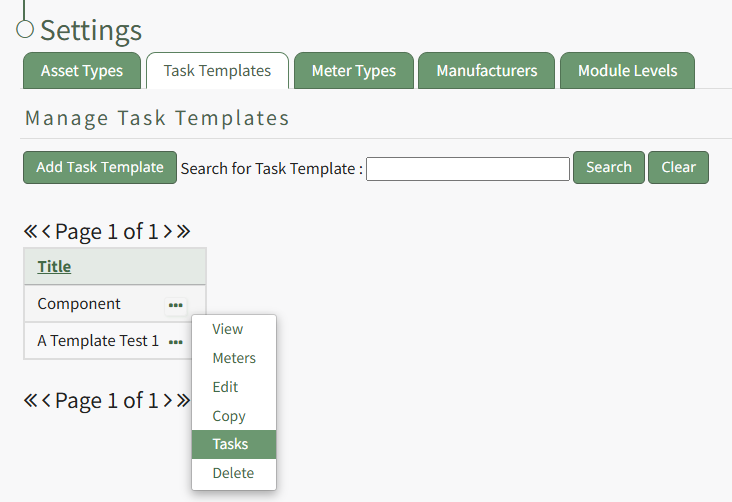
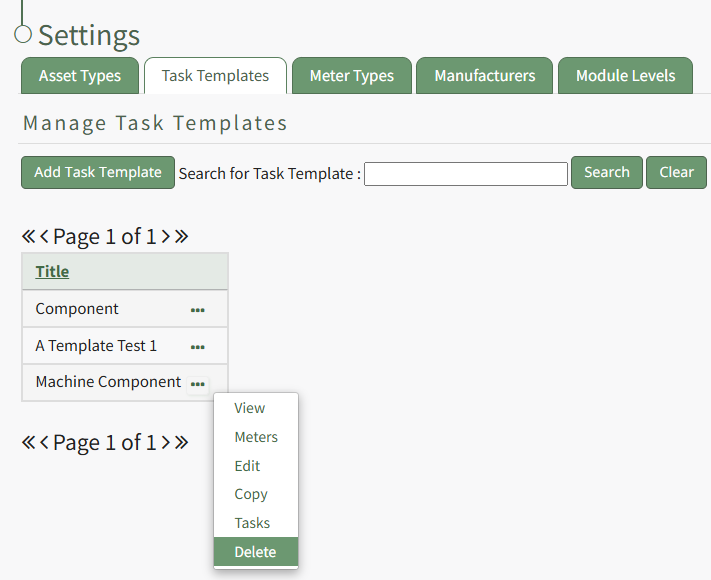
Selecting the three-got icon to the right of the Task Template title will open the Task Template Context Menu which displays options
Task Template Context Menu Option Explanation Table | |
Option | Explanation |
View |
Select “View” from the context menu to open the View Modal that shows the title of the Task Template.
|
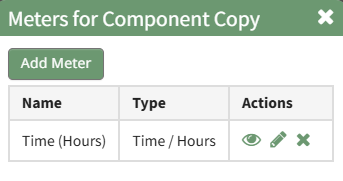
Meters | Select “Meters” from the context menu to open the Meters for (Name of Task Template) modal. The modal provides a list of all meters associated with the Task Template and includes an “Add Meter” button that allows the user to add additional meters to the Task Template. How To: Add Meters to a Task TemplateTo add a meter to a task template, go the the Task Template Tab on the Settings Page of the Assets Module.
Select the three-dot icon to the right of the task template you wish to add a meter to, opening the task template context menu. Select "Meters".
This opens the Meters for Task Templates Modal.
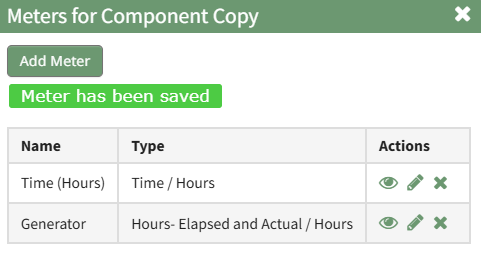
Select the "Add Meter" button, opening the Add Meter Modal.
Specify the Meter Type and input a title and any relevant notes regarding the new meter for the task template. The fields visible on the Add Meter Modal will vary based on the meter type selected. Select "Save" and the new meter will show on Meter Modal for the task template.
|
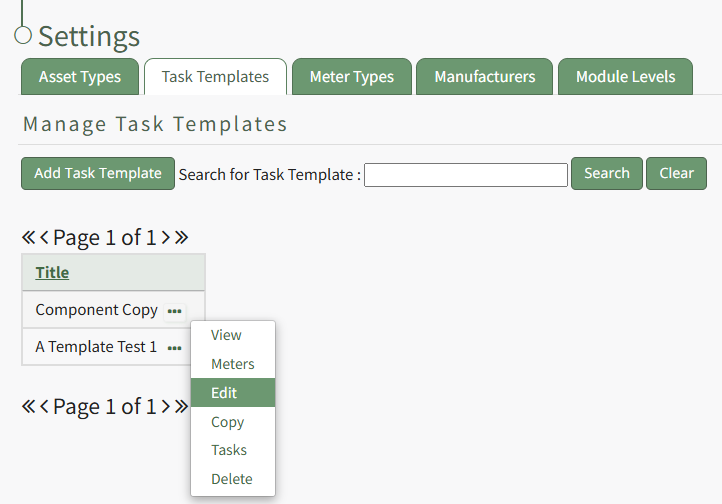
Edit | Select “Edit” from the to open the Edit Task Template modal, which allows the user to change the task template name. How To: Change a Task Template NameTo change a task template name, go to the Task Template Tab on the Settings Page of the Assets Module.
Click the three-dot icon to the right of the Task Template whose title you wish to change and select "Edit" from the Task Template Context Menu.
This opens the Edit Task Template Modal, where the name can be altered.
Make the desired changes and select the "Save" button. A pop up confirms that the template has been edited, and the change is reflected on the Task Template Table.
|
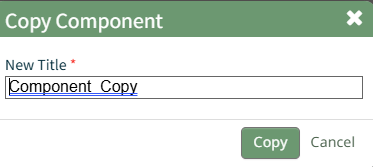
Copy | Select “Copy” from the context menu to open the Copy (Name of Task Template) Modal in order to make a copy of the task template from a pre-existing task template. How To: Copy and Rename a Task TemplateTo copy and rename a task template, go to the Task Template Tab on the Settings Page of the Assets Module.
Select the three-dot icon to the right of the task template you wish to copy opening the Task Template Context Menu and select "Copy".
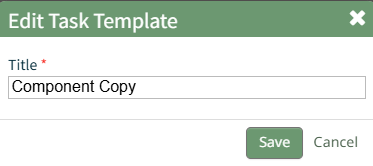
This opens the Copy Task Template Modal, where a title for the newly copied task template can be altered.
Select the "Copy" button and pop up confirms that the task template was copied.
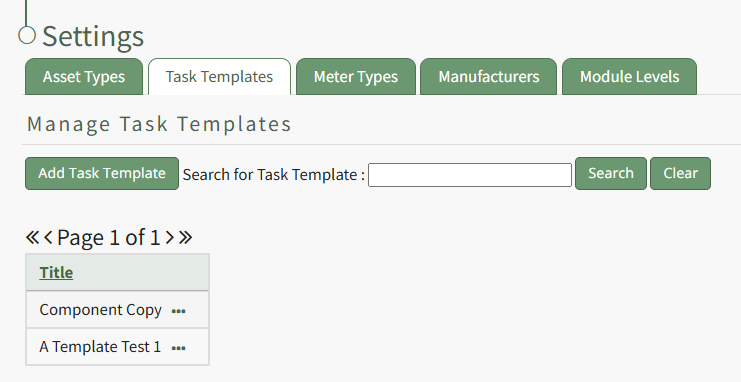
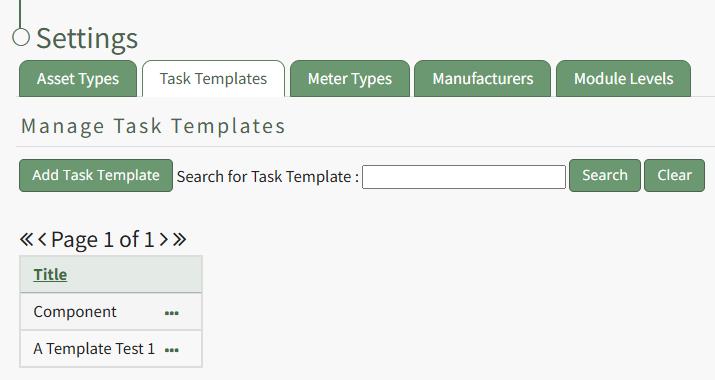
The new Task Template is now visible in the Task Template Table.
|
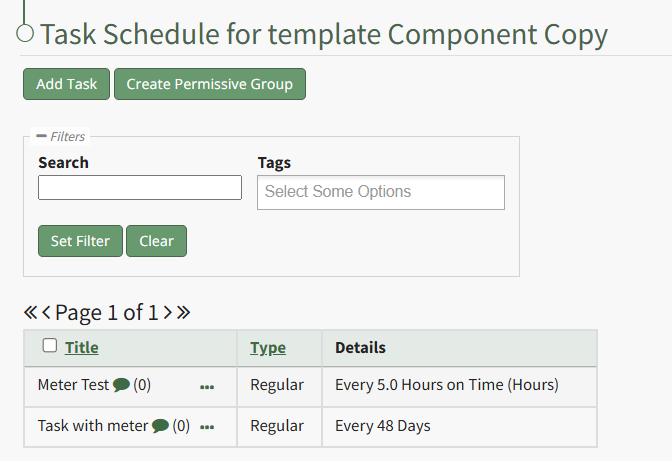
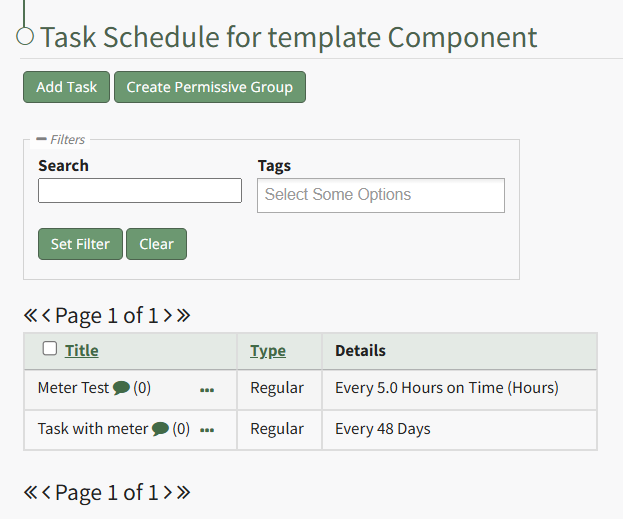
Tasks | Select “Tasks” from the context menu to open the Task Schedule for the Task Template Page. Additional tasks and permissive groups can be added to the task template here. How To: Add Tasks to a Task TemplateTo add tasks to a task template, go to the Task Template Tab on the Settings Page of the Assets Module.
Select the three-dot icon to the right of the task template you wish to add a task to opening the Task Template Context Menu. Select "Tasks".
This opens the Task Template Task Schedule. Select the "Add Task" button beneath the page header.
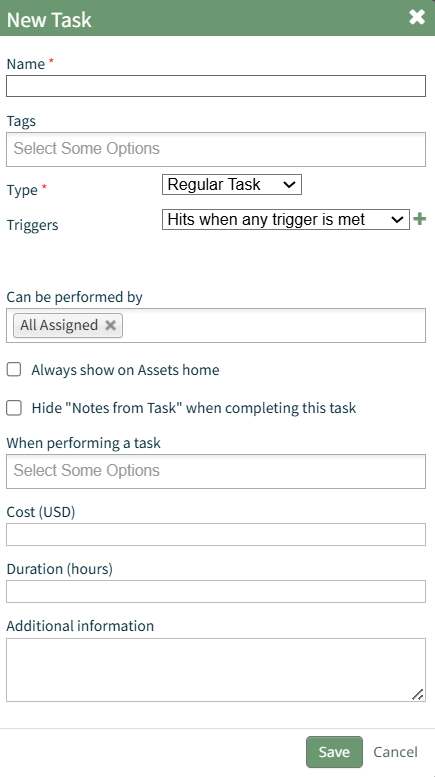
This opens the New Task Modal.
Input the information for the New Task and select the "Save" button. For a detailed explanation on creating new tasks, refer to the How To Add a Task to an Asset. How To: Create a New Task on the Task ScheduleThere are three tables in the People Module than can be customized for your organization's specific needs.
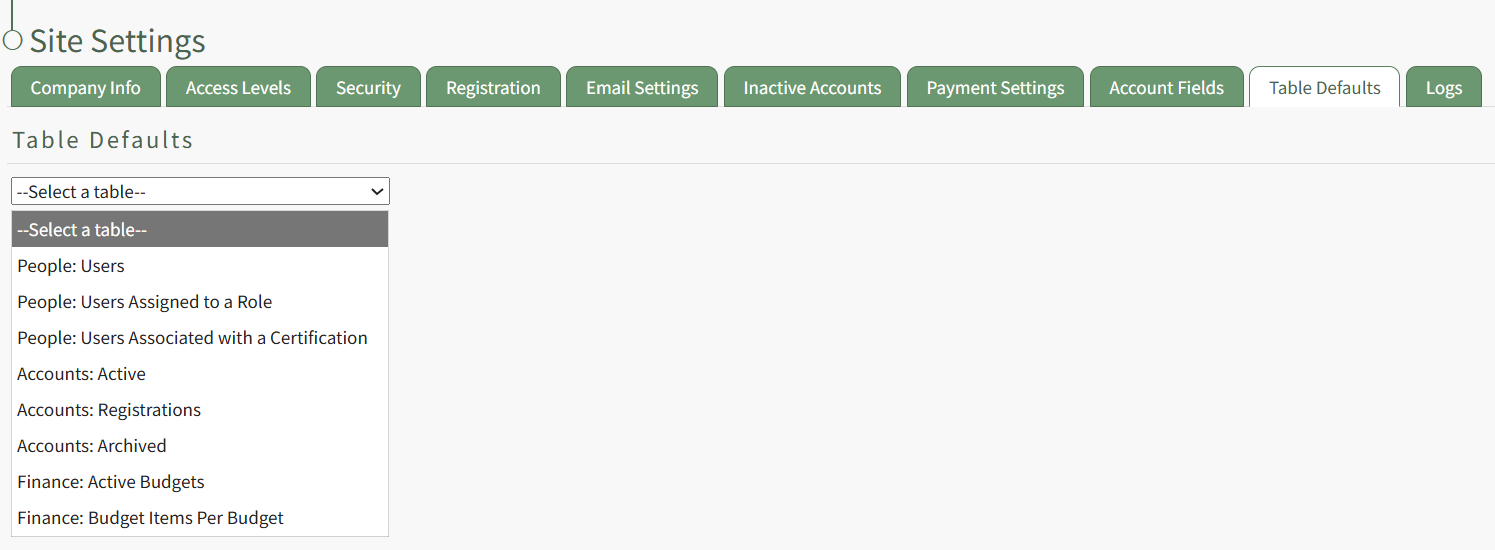
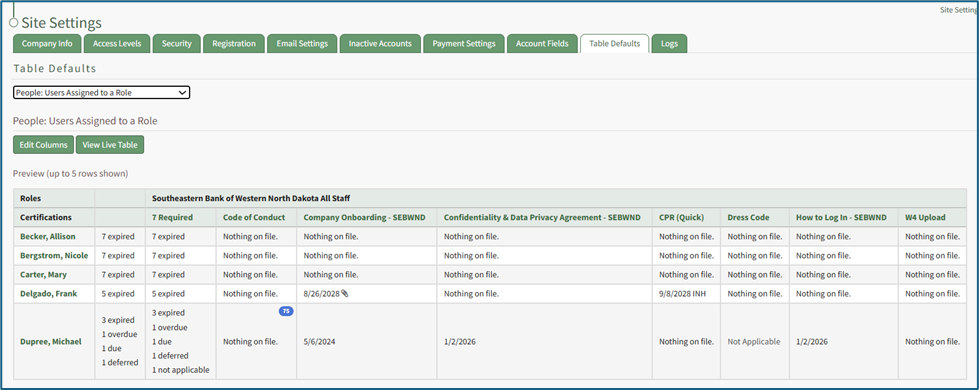
The Users Table (on the Users Page of the People Module), the Users Assigned to a Role Table (on the Assigned Users Tab of a certification role's Details Page), and the Users Associated with a Certification Table (on the Associated Users Tab of a certification's Details Page) are all customizable. How To: Edit the People Module Users TableTo edit the Users Table in the People Module, go to the Table Defaults Tab in the Site Settings Module. Select “People: Users” from the dropdown menu.
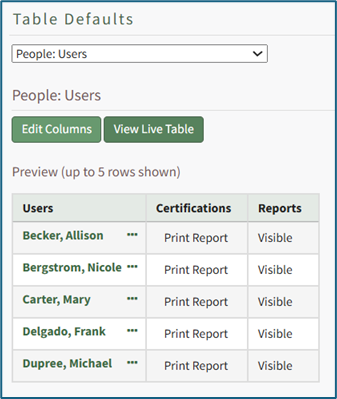
Select the “Edit Columns” button, opening the Choose Columns Modal. The default column choices include users, certifications, reports, username, email, first name, last name, employee ID, phone, Address 1, and Address 2. Customizable account information fields can be created on the Account Fields Tab of the Site Settings Module. How To: Add a Custom/Additional User Account Information Field{{@856}} The bars icon allows the columns to be positioned in the order of your choosing. Click “Cancel” to return to the Table Defaults Tab without making any changes. Select the “Save” button to make the desired changes and return to the Table Defaults Tab. A preview of the first five rows of the table is shown. Select the “View Live Table” button to be directed to the live table in the People Module. How To: Edit the People Module Users Assigned to a Role TableTo edit the Users Assigned to a Role Table in the People Module, go to the Table Defaults Tab in the Site Settings Module. Select “People: Users Assigned to a Role” from the dropdown menu.
Select the “Edit Columns” button, opening the Choose Columns Modal. The default column choices include name, username, email, first name, last name, employee ID, phone, Address 1, and Address 2. Customizable account information fields can be created on the Account Fields Tab of the Site Settings Module. How To: Add a Custom/Additional User Account Information Field{{@856}} The bars icon allows the columns to be positioned in the order of your choosing. Click “Cancel” to return to the Table Defaults Tab without making any changes. Select the “Save” button to make the desired changes and return to the Table Defaults Tab. A preview of the first five rows of the table is shown. Select the “View Live Table” button to be directed to the live table in the People Module. How To: Edit the People Module Users Associated with a Certification TableTo edit the Users Associated with a Certification Table in the People Module, go to the Table Defaults Tab in the Site Settings Module. Select “People: Users Associated with a Certification” from the dropdown menu.
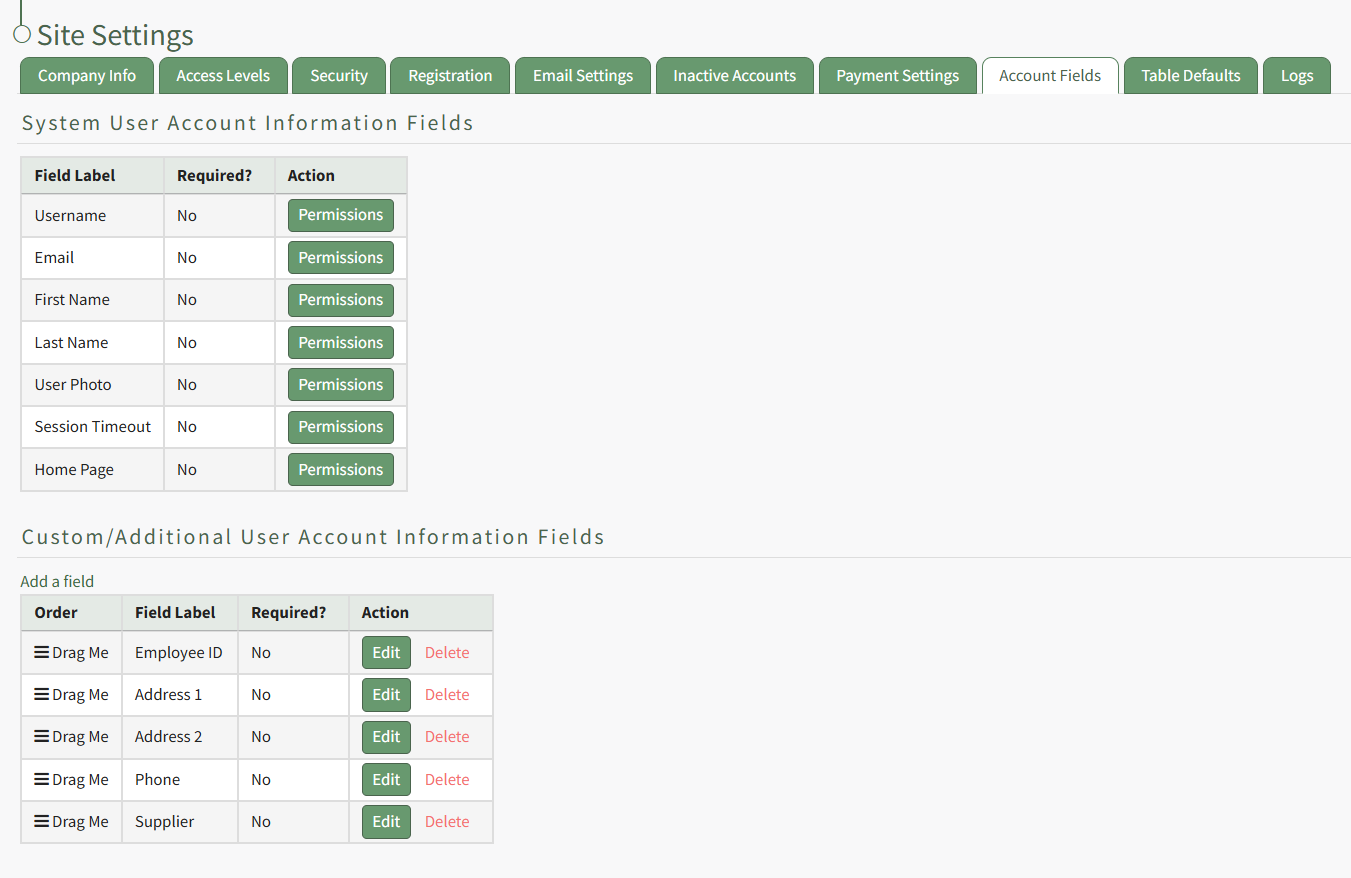
Select the “Edit Columns” button, opening the Choose Columns Modal. The default column choices include: name, username, certification expiration date, attachment(s), time until expiration, required, other required certification, email, first name, last name, employee ID, phone, Address 1, and Address 2. Customizable account information fields can be created on the Account Fields Tab of the Site Settings Module. How To: Add a Custom/Additional User Account Information Field{{@856}} The bars icon allows the columns to be positioned in the order of your choosing. Click “Cancel” to return to the Table Defaults Tab without making any changes. Select the “Save” button to make the desired changes and return to the Table Defaults Tab. A preview of the first five rows of the table is shown. Select the “View Live Table” button to be directed to the live table in the People Module. Customizable user account information fields can be created and utilized in the tables as needed. How To: Add a Custom / Additional User Account Information FieldTo add a user account information field, open the Account Fields Tab in the Site Settings Module from the Main Menu.
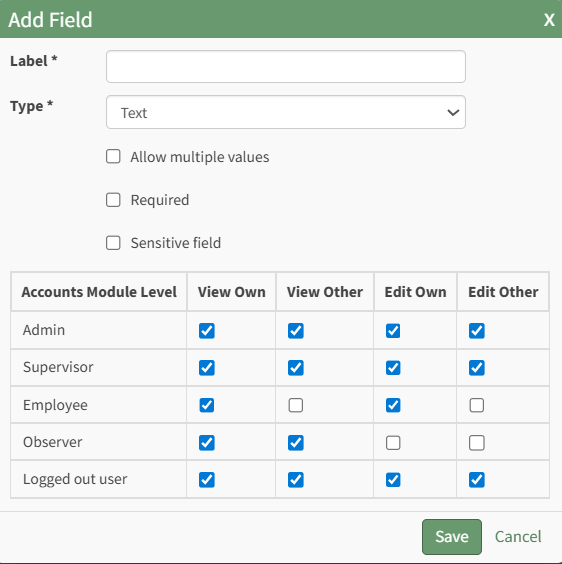
Click the "Add a Field" clickable link above the Custom / Additional User Account Information Fields opening the Add Field Modal.
Input the label for the field. Select the field type (text or email) from the dropdown menu. Selecting the checkbox enables customization to "Allow multiple values," make the field "Required," or make it a "Sensitive Field." Designating the field as a "Sensitive Field" allows an extra step in form security when integrating these fields within the Form module. The Form Designer must explicitly choose when they wish to use a sensitive field. The Permissions Table determines who can view / edit their own and other user's fields. Selecting the checkbox gives the individual the specified permission. Deselecting the checkbox removed the permission. Select the "Save" button and the custom field now shows in the table. Use the Drag Me icon to drag and drop the field into your desired position of choice. A pop up confirms that the task has been saved.
The new task now shows on the task schedule for the task template.
|
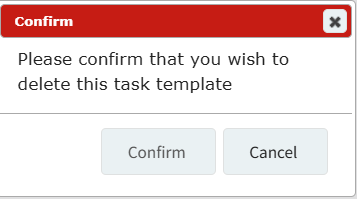
Delete | Select “Delete” from the context menu to open the Task Template Deletion Confirmation modal. Select “Confirm” to delete the task template. How To: Delete a Task TemplateTo delete a task template, go to the Task Template Tab on the Settings Page of the Assets Module.
Select the three-dot icon to the right of the Task Template you wish to delete, opening the Task Template Context Menu. Select "Delete".
This opens the Deletion Confirmation Modal which states, "Please confirm that you wish to delete this task template."
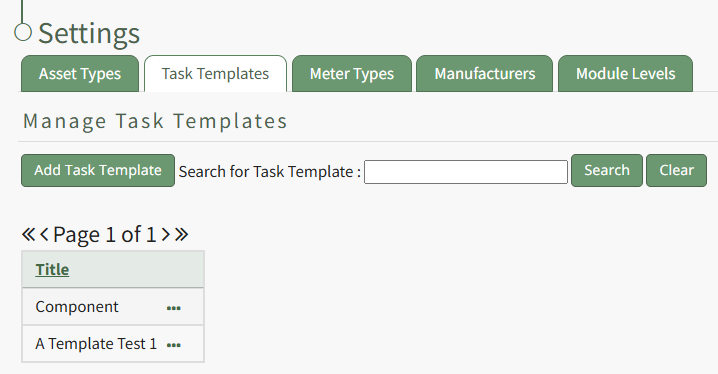
Select the "Confirm" button and a pop up confirms that the task template has been deleted.
The deleted Task Template no longer shows on the Task Template Table.
|


The Task Schedule for a Task Template Page
The Task Schedule for a Task Template Page is where the task template's tasks and permissive groups can be customized.